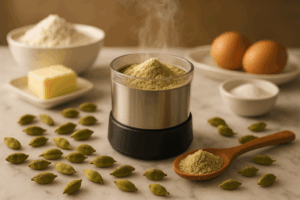
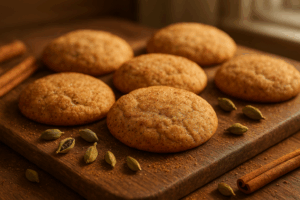
Get ready to elevate your cookie game. We are moving beyond the standard chocolate chip. Instead, we will create something truly special. These brown butter cardamom cookies offer a sophisticated flavor profile. They combine nutty, warm, and bright notes in every single bite. The aroma alone is enough to make your kitchen feel like a gourmet bakery. This recipe is perfect for holiday gatherings, afternoon tea, or whenever you crave a uniquely delicious treat.
Imagine the deep, caramel-like flavor of browned butter. It pairs beautifully with the warm, aromatic spice of cardamom. Then, a zesty orange glaze cuts through the richness. This combination creates a perfectly balanced cookie that is both comforting and elegant. It sounds complex, but you can master this recipe with just a few simple tips.
The Magic Behind the Flavors
What makes this cookie combination so irresistible? The magic lies in three key components working in perfect harmony. Each one brings a distinct character to the final product. Understanding their roles will help you appreciate the depth of flavor you are creating. It also makes the baking process more intuitive and enjoyable. Let’s break down the star ingredients.
The Power of Brown Butter
Brown butter, or beurre noisette, is a game-changer in baking. Source You create it by gently melting butter until the milk solids toast and turn a golden-brown color. This simple process transforms regular butter into a liquid gold with a rich, nutty aroma and a deep, complex flavor. The toasting process creates new flavor compounds through a chemical process. This reaction adds incredible depth that regular melted butter simply cannot match. It’s the secret weapon that gives these cookies their signature taste.
The Warmth of Cardamom
Cardamom is a wonderfully aromatic spice. It has a complex flavor profile that is slightly sweet, spicy, and citrusy all at once. It pairs exceptionally well with both the nutty brown butter and the bright orange. In this recipe, cardamom provides a warm, comforting background note that makes the cookies feel cozy and sophisticated. For the best flavor, always use freshly ground cardamom if possible. The pre-ground version works, but it loses some of its potent aroma over time.
The Flavor Chemistry That Makes This Pairing Work
There is real chemistry behind why these two ingredients amplify each other. Browning butter creates compounds like diacetyl and acetoin—the molecules behind that rich, almost savory toasted sweetness. Cardamom, meanwhile, owes its distinctive warm, slightly minty-floral character to terpinyl acetate, a compound in the seeds’ essential oils with woody, almost caramel-adjacent notes that directly echo the toasted, nutty notes of brown butter. When the two meet in the same cookie, the cardamom makes the brown butter taste richer and the brown butter makes the cardamom taste more sophisticated—the result is more complex than the sum of its parts.
One practical note before you start: browning drives off water, so expect to lose roughly 2 tablespoons of volume per stick of butter to evaporation. If you brown your butter ahead of time, measure it after it has cooled rather than assuming the pre-browning amount—a batch that ends up with noticeably more liquid than expected usually didn’t brown long enough, while much less means it went too far.
The Brightness of Orange Glaze
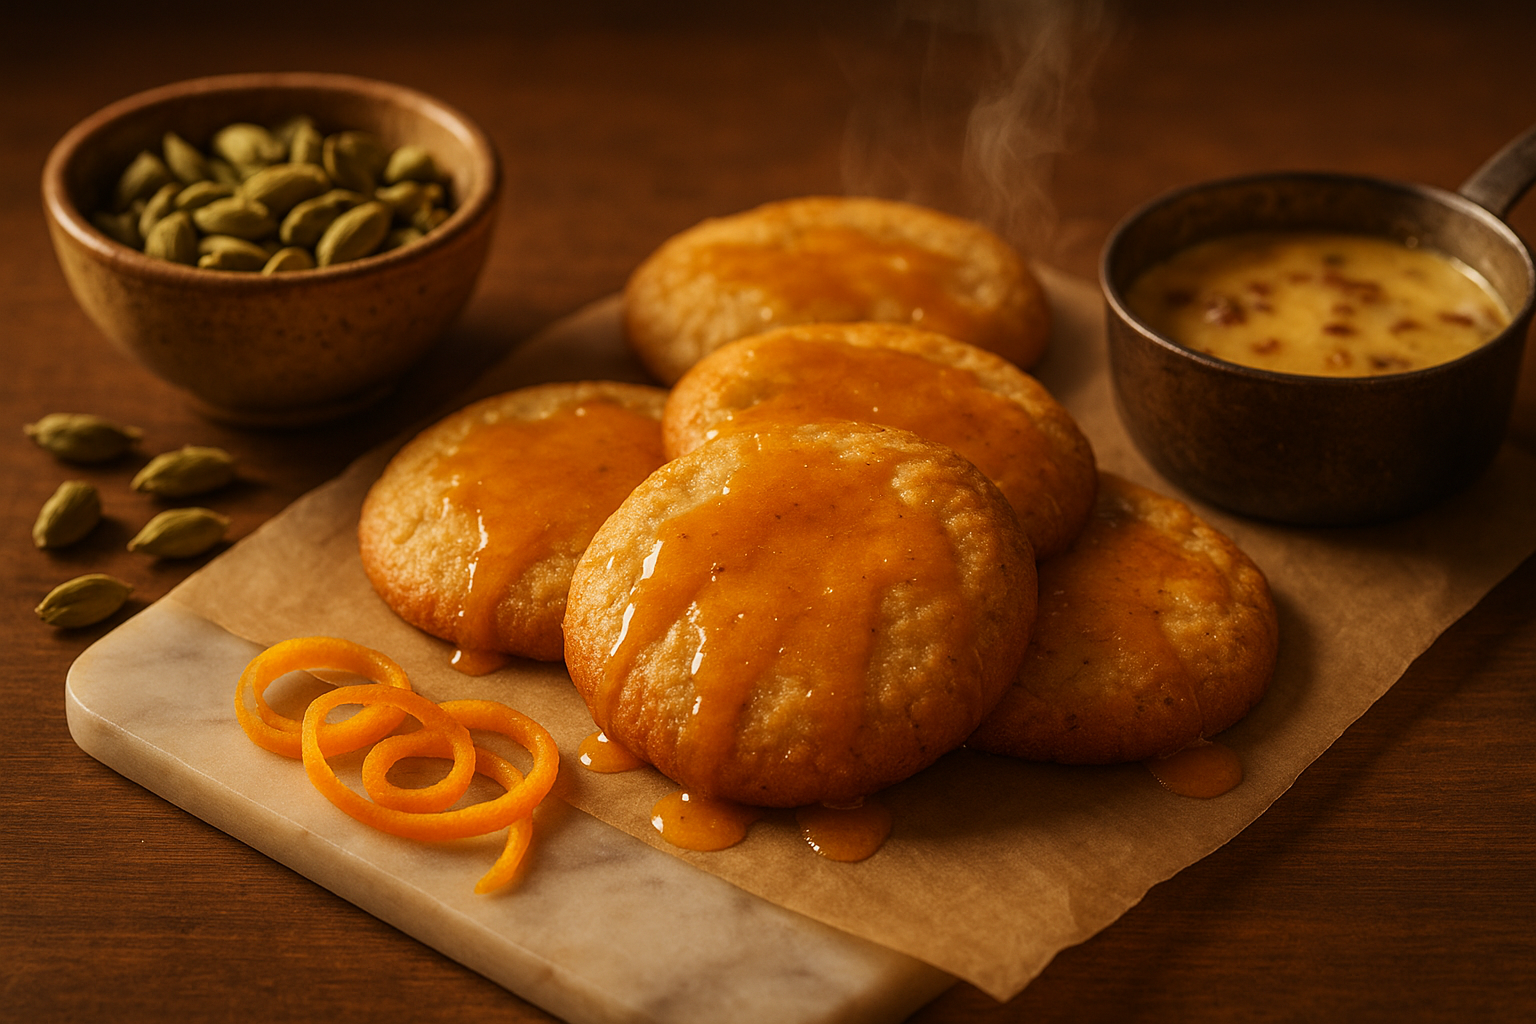
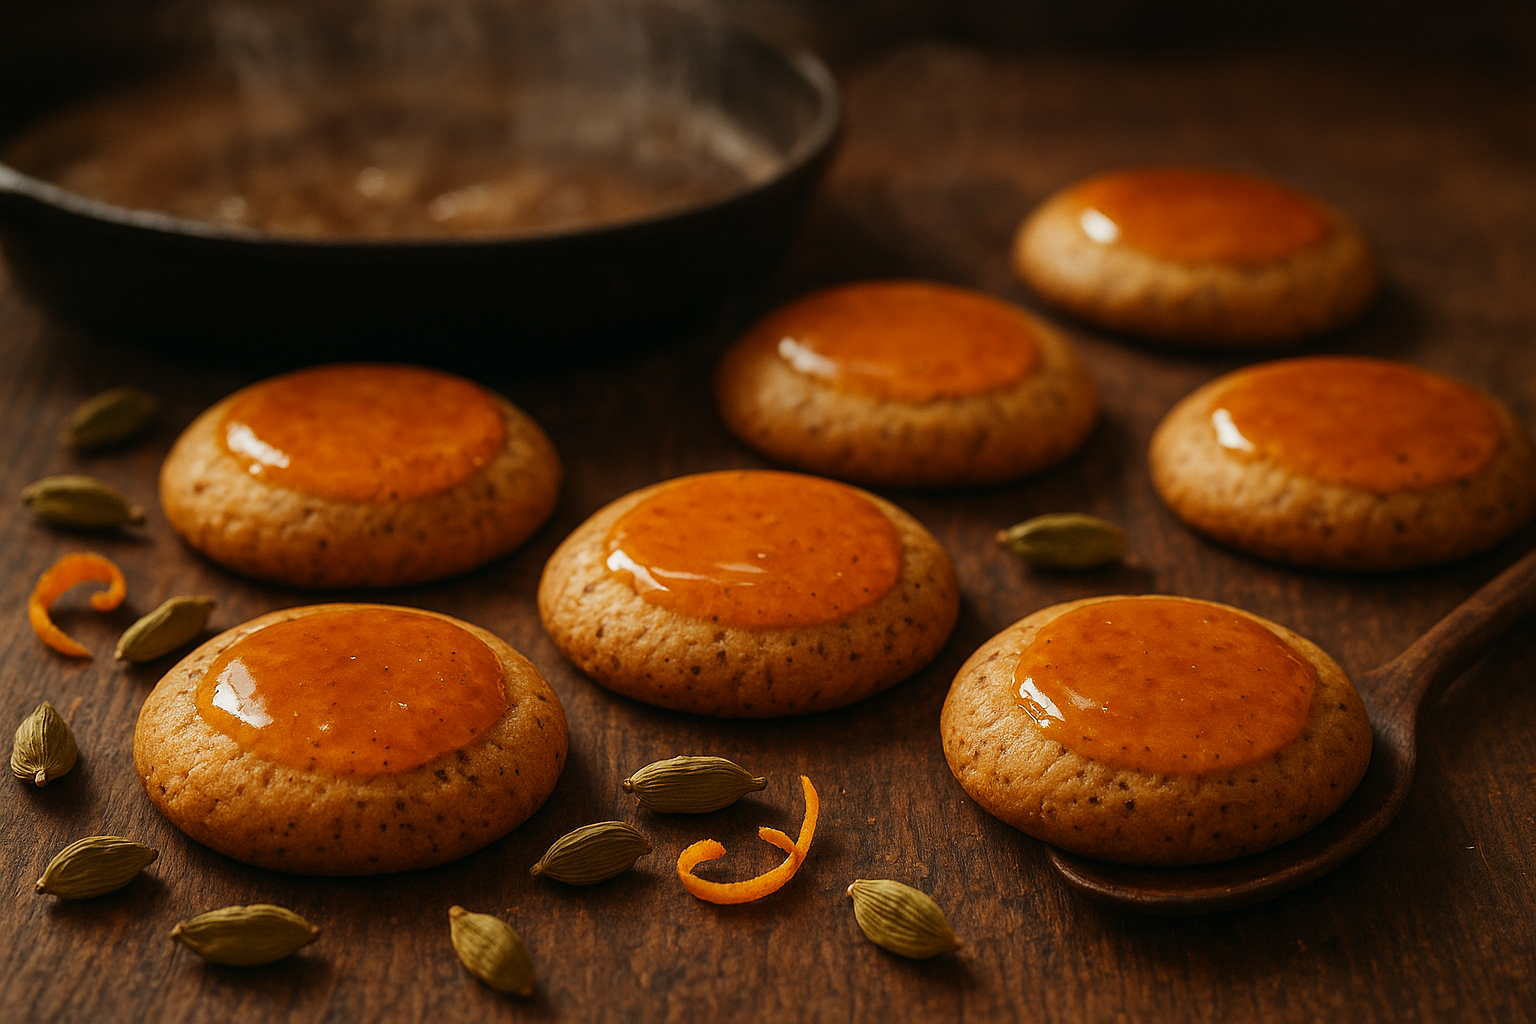
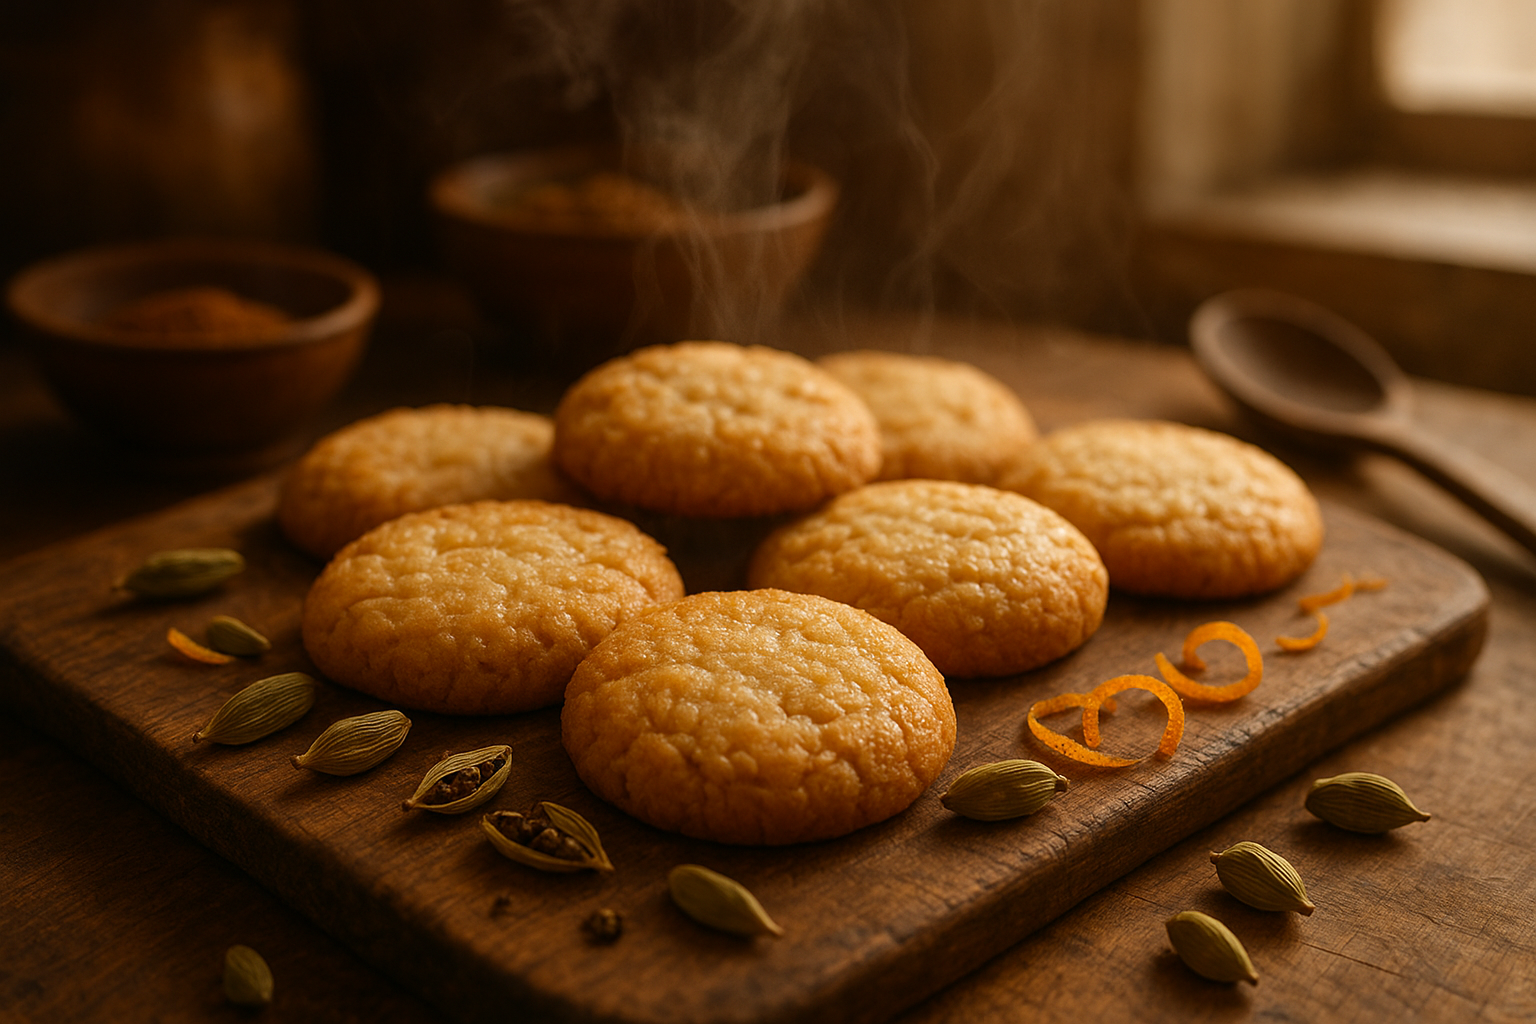
A simple orange glaze provides the perfect finishing touch. Its bright, citrusy flavor cuts through the richness of the brown butter. This prevents the cookies from feeling too heavy. Furthermore, the sweetness of the powdered sugar balances the zest’s slight bitterness. The glaze not only adds flavor but also a beautiful, glossy appearance. It makes the cookies look as good as they taste.
The Ultimate Brown Butter Cardamom Cookies
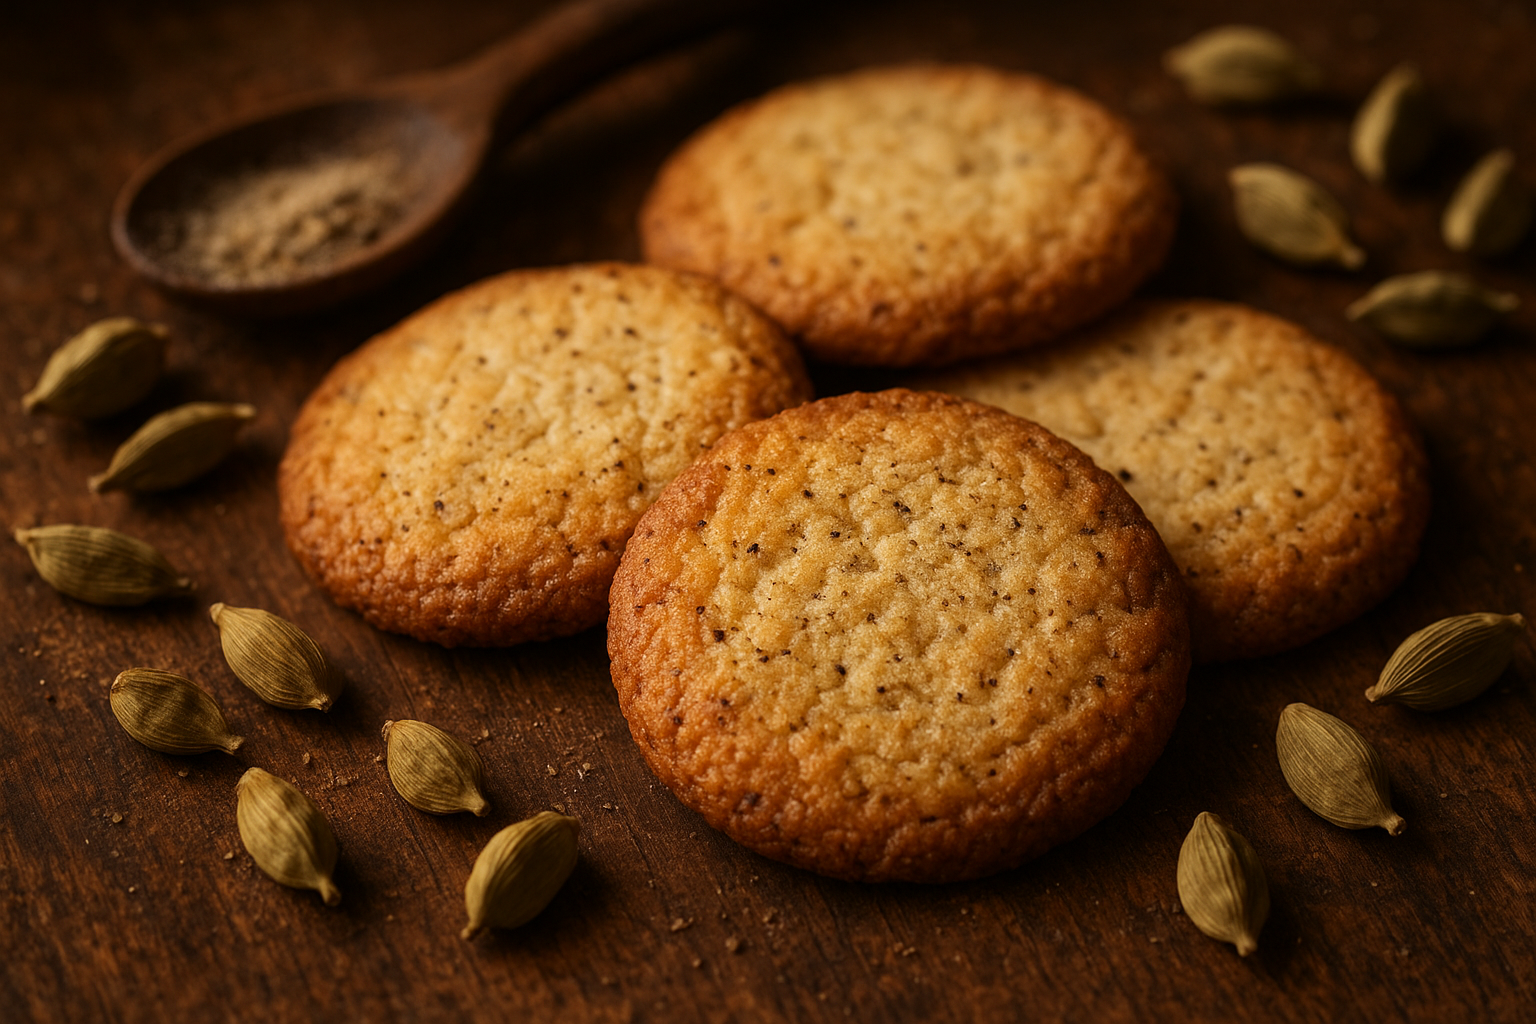
Baking is a delicate balance of art and science, and nowhere is this more evident than in a recipe designed to deliver truly exceptional results. Precision in each step is your key to unlocking the full potential of these cardamom cookies, transforming simple ingredients into a symphony of flavors and textures.
The Alchemy of Brown Butter: Your Flavor Foundation
The instruction to pay close attention to the butter-browning process isn’t just a suggestion; it’s the most crucial step for developing the signature depth and warmth that elevates these cookies. This isn’t merely melting butter; it’s an intentional culinary transformation known as making beurre noisette.
- What Happens: As butter gently heats, the milk solids separate, toast, and undergo the Maillard reaction. This complex chemical process creates hundreds of new flavor compounds, imbuing the butter with a nutty, toasted, caramel-like aroma and taste.
- Why It’s Essential for Cardamom:
- Deepens Flavor: Brown butter provides a rich, complex backdrop that perfectly complements the bright, aromatic notes of cardamom. It adds a foundational warmth that makes the spice truly sing.
- Adds Nuance: Instead of a flat, one-dimensional butter flavor, you get layers of toasted sugar, hazelnut, and toffee, which intertwine beautifully with the cardamom’s citrusy, floral, and slightly peppery qualities.
- Aromatic Impact: The alluring scent of brown butter permeates the dough, promising a truly gourmet experience even before the first bite.
Mastering the Brown Butter Technique:
- Choose Your Pan Wisely: Use a light-bottomed saucepan. This allows you to clearly see the color changes of the milk solids, preventing accidental burning.
- Melt and Swirl: Melt the butter over medium heat, swirling or stirring constantly. It will first foam, then subside, becoming clear.
- Watch for the Magic: Continue cooking until the milk solids at the bottom of the pan turn a beautiful amber-gold or light brown. Simultaneously, you’ll notice a distinct, intoxicating nutty aroma filling your kitchen.
- Timing is Everything: This transition happens quickly! Remove the pan from the heat immediately once the solids reach that perfect amber hue. Overcooking will result in burnt, bitter butter.
- Stop the Cooking: Pour the hot brown butter into a cool, heatproof bowl right away to prevent residual heat from continuing the cooking process.
This carefully executed step infuses your cookies with an unparalleled richness, making every bite a complex and memorable delight.
The Chill Factor: Shaping Perfection and Intensifying Flavor
While the brown butter lays the flavor foundation, chilling the dough is equally essential for achieving the ideal cookie texture and preventing unwelcome spreading. This isn’t just a waiting game; it’s a critical step with multiple benefits:
- Prevents Spreading:
- Fat Solidification: The primary reason for chilling. When the butter in your dough is cold and firm, it melts more slowly in the hot oven. This gives the cookie structure time to set before the fat fully liquefies, resulting in thicker, chewier cookies rather than flat, greasy discs.
- Gluten Relaxation: Chilling allows the gluten in the flour to relax. This contributes to a more tender cookie with a better “bite,” rather than a tough or crumbly one.
- Enhances Flavor Development:
- Mellowing and Melding: Just like a good stew or marinade, cookie dough benefits from time. Chilling allows the flavors – especially the intricate notes of brown butter and cardamom – to meld, deepen, and fully infuse throughout the dough. The cardamom oils have more time to release and integrate, leading to a more pronounced and harmonious spice profile.
- Hydration: The flour has more time to fully hydrate, leading to a more consistent and pleasant texture.
Optimal Chilling for Best Results:
- Minimum Time: Aim for at least 30-60 minutes in the refrigerator to solidify the butter and prevent immediate spreading.
- Optimal Time: For the absolute best flavor and texture, chilling for 2-24 hours is highly recommended. You’ll notice a significant difference in both the cookie’s structure and the intensity of its taste.
- Cover It Up: Always cover your dough tightly with plastic wrap to prevent it from drying out or absorbing unwanted odors from the fridge.
By patiently allowing your dough to chill, you’re investing in a superior cookie experience – one that boasts perfect texture, robust flavor, and a truly professional finish.
Brown Butter Cardamom Cookies with Orange Glaze
Ingredients:
For the Cookies:
- 1 cup (227g) unsalted butter
- 1 cup (200g) packed light brown sugar
- 1/2 cup (100g) granulated sugar
- 2 large eggs, at room temperature
- 1 tablespoon vanilla extract
- 2 1/2 cups (300g) all-purpose flour
- 2 teaspoons ground cardamom
- 1 teaspoon baking soda
- 1/2 teaspoon salt
For the Orange Glaze:
- 1 cup (120g) powdered sugar
- 2-3 tablespoons fresh orange juice
- 1 teaspoon orange zest
Instructions:
Here’s an elaborated guide to crafting exquisite cardamom cookies, delving deeper into each step to ensure perfect results every time:
The Art of the Cardamom Cookie: A Deep Dive into Perfection
Crafting the perfect cardamom cookie is a journey of flavor and texture, where each step contributes to the final, irresistible treat. Let’s unpack the nuances of this baking process, transforming simple ingredients into a truly memorable experience.
Unlocking Flavor: The Brown Butter Foundation
The journey to an extraordinary cookie often begins with a foundational ingredient: brown butter. This isn’t just about melting; it’s about transforming the butter’s molecular structure to unleash a profound, nutty depth.
- The Transformation: Start with unsalted butter in a light-colored saucepan. This light background is critical, allowing you to clearly monitor the subtle color changes from pale yellow to a rich, golden amber. Over medium heat, the butter will first melt, then foam vigorously as water evaporates.
- Key Indicators:
- Sound: Listen for the sizzling to quiet down as the water dissipates.
- Visuals: The foam will eventually subside, revealing tiny brown specks gathering at the bottom – these are the toasted milk solids, the source of that coveted nutty flavor.
- Aroma: A rich, toasted, almost caramel-like fragrance will fill your kitchen. This is your cue!
- Precision is Key: The moment you see those golden-brown specks and smell that distinct nutty aroma, immediately remove the pan from the heat. Pour the hot butter into a separate heatproof bowl. This swift transfer is crucial to halt the cooking process, preventing it from burning and turning bitter. Allow it to cool for approximately 15-20 minutes, or until it’s just warm to the touch and slightly thickened, but not re-solidified. This cooling ensures it won’t scramble your eggs or melt your sugars prematurely.
Building the Base: The Wet Ingredients Symphony
With your perfectly browned butter ready, it’s time to build the foundation of your cookie dough, focusing on achieving a smooth, well-emulsified mixture.
- Creaming for Texture: In a spacious mixing bowl, combine the cooled brown butter with both brown sugar (for moisture and chewiness) and granulated sugar (for crispness and structure). Whisk these vigorously. The goal here isn’t just to mix, but to cream them together, incorporating air and dissolving the sugar crystals as much as possible, leading to a lighter, more tender cookie.
- Egg Emulsification: Add the eggs one at a time, mixing thoroughly after each addition. This gradual incorporation allows the eggs to fully emulsify with the butter and sugar, creating a stable, cohesive batter. Resist the urge to add them all at once!
- A Touch of Sweetness: Finally, stir in the vanilla extract. Choose a good quality pure vanilla extract; it makes a noticeable difference in the overall flavor profile.
The Aromatic Heart: Combining Dry Ingredients
This step is where the signature flavor of your cardamom cookies truly takes shape. Proper mixing of the dry ingredients ensures that every bite is perfectly seasoned and evenly leavened.
- The Whisking Advantage: In a separate medium bowl, combine the all-purpose flour, ground cardamom, baking soda, and salt. Whisking these ingredients together thoroughly before adding them to the wet mixture is paramount.
- Why Separate? This process ensures:
- Even Distribution: No pockets of unmixed baking soda or overwhelming bursts of salt.
- Flavor Harmony: The fragrant cardamom is evenly dispersed, guaranteeing a consistent, aromatic experience in every cookie.
- Cardamom Choice: For best results, consider using freshly ground green cardamom pods if possible; the difference in aroma and flavor intensity is remarkable compared to pre-ground powder. If using pre-ground, ensure it’s fresh for maximum potency.
Crafting the Dough: The Gentle Fold
The transition from separate wet and dry components to a unified dough requires a delicate touch to avoid overworking.
- Gradual Integration: Gradually add the combined dry ingredients to your wet mixture. You can do this on low speed with a stand mixer fitted with a paddle attachment, or by hand with a sturdy spatula.
- The “Just Combined” Rule: Mix only until the ingredients are just combined. This means no visible streaks of dry flour, but don’t continue mixing beyond that point.
- Avoiding Toughness: Overmixing develops the gluten in the flour, which can lead to tough, chewy cookies instead of the desired tender texture. A slightly shaggy, cohesive dough is perfect.
The Essential Rest: Chilling for Superior Cookies
Chilling the dough isn’t merely an optional step; it’s a non-negotiable secret to achieving superior texture, flavor, and structure in your cookies.
- The Science of Chilling:
- Solidifies Fat: As the dough chills, the butter re-solidifies. This prevents the cookies from spreading too rapidly and thinly in the oven, resulting in a thicker, chewier cookie with those coveted slightly crisp edges.
- Hydrates Flour: The flour has time to fully absorb the moisture from the wet ingredients, leading to a more tender crumb.
- Deepens Flavor: The flavors, especially the delicate cardamom, have an opportunity to meld and intensify, creating a more complex and satisfying taste profile.
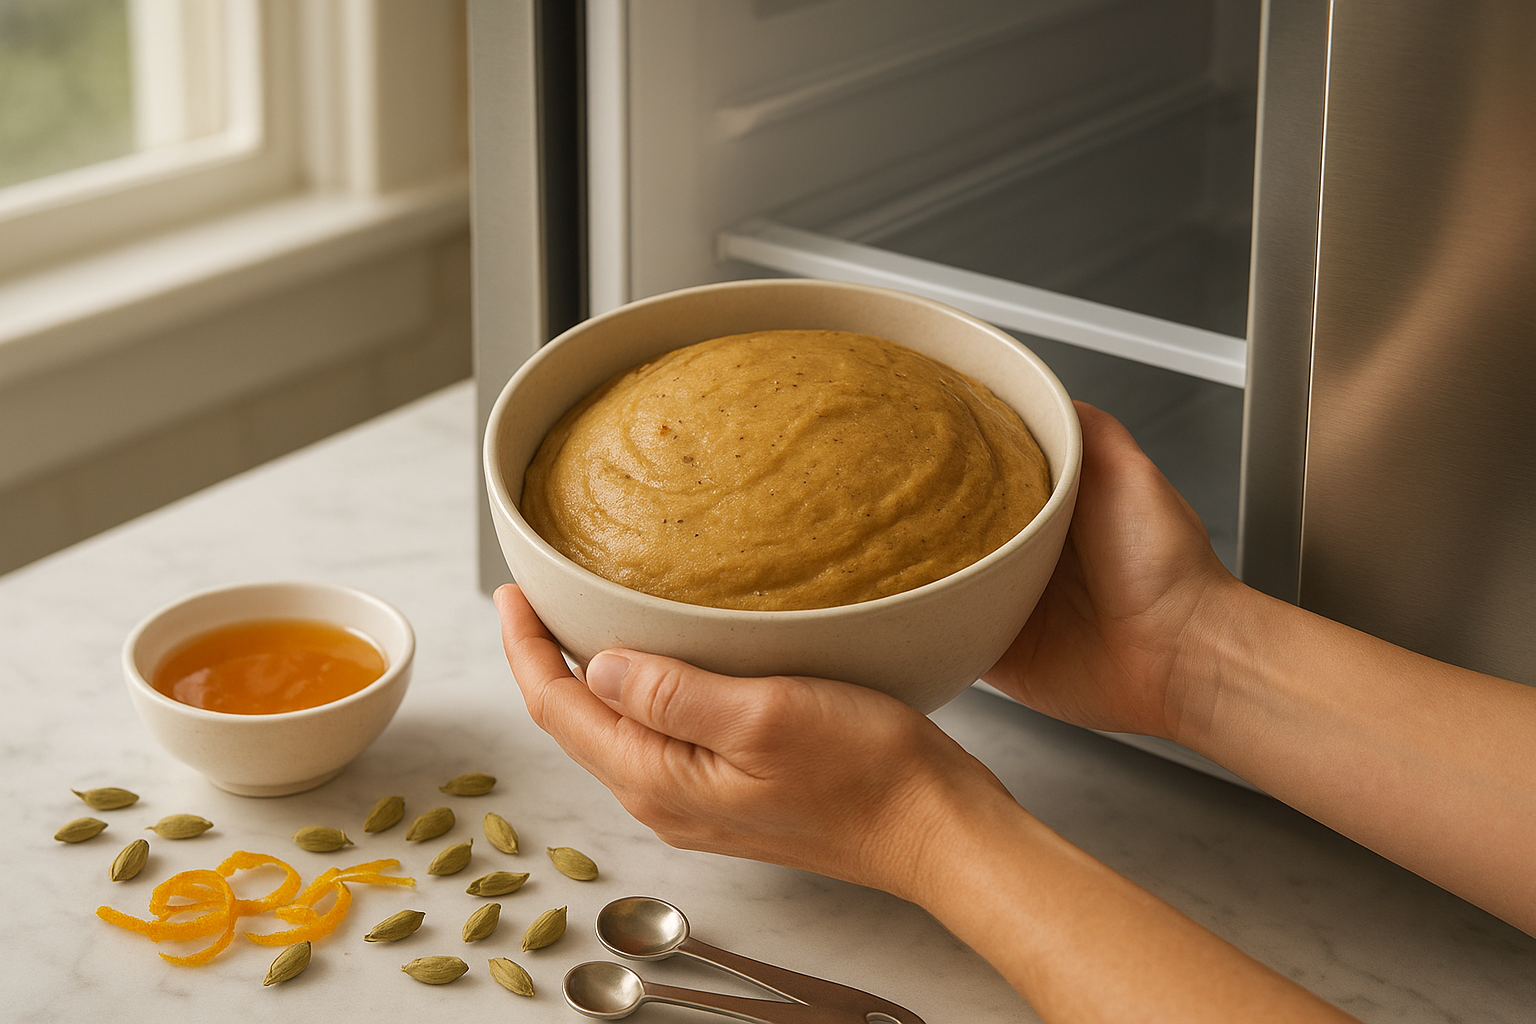
- Duration: Cover the bowl tightly with plastic wrap and refrigerate for at least 1 hour. For an even more profound flavor and better texture, chill for 4-24 hours. This resting period is truly where the magic happens.
Preparation for Baking: Preheat and Portion
A properly prepared oven and uniformly portioned dough are crucial for consistent baking results.
- Oven Acclimation: Preheat your oven to 375°F (190°C). It’s vital to allow your oven ample time to reach and stabilize at the target temperature. Using an oven thermometer can confirm accuracy, as many ovens can be off by several degrees.
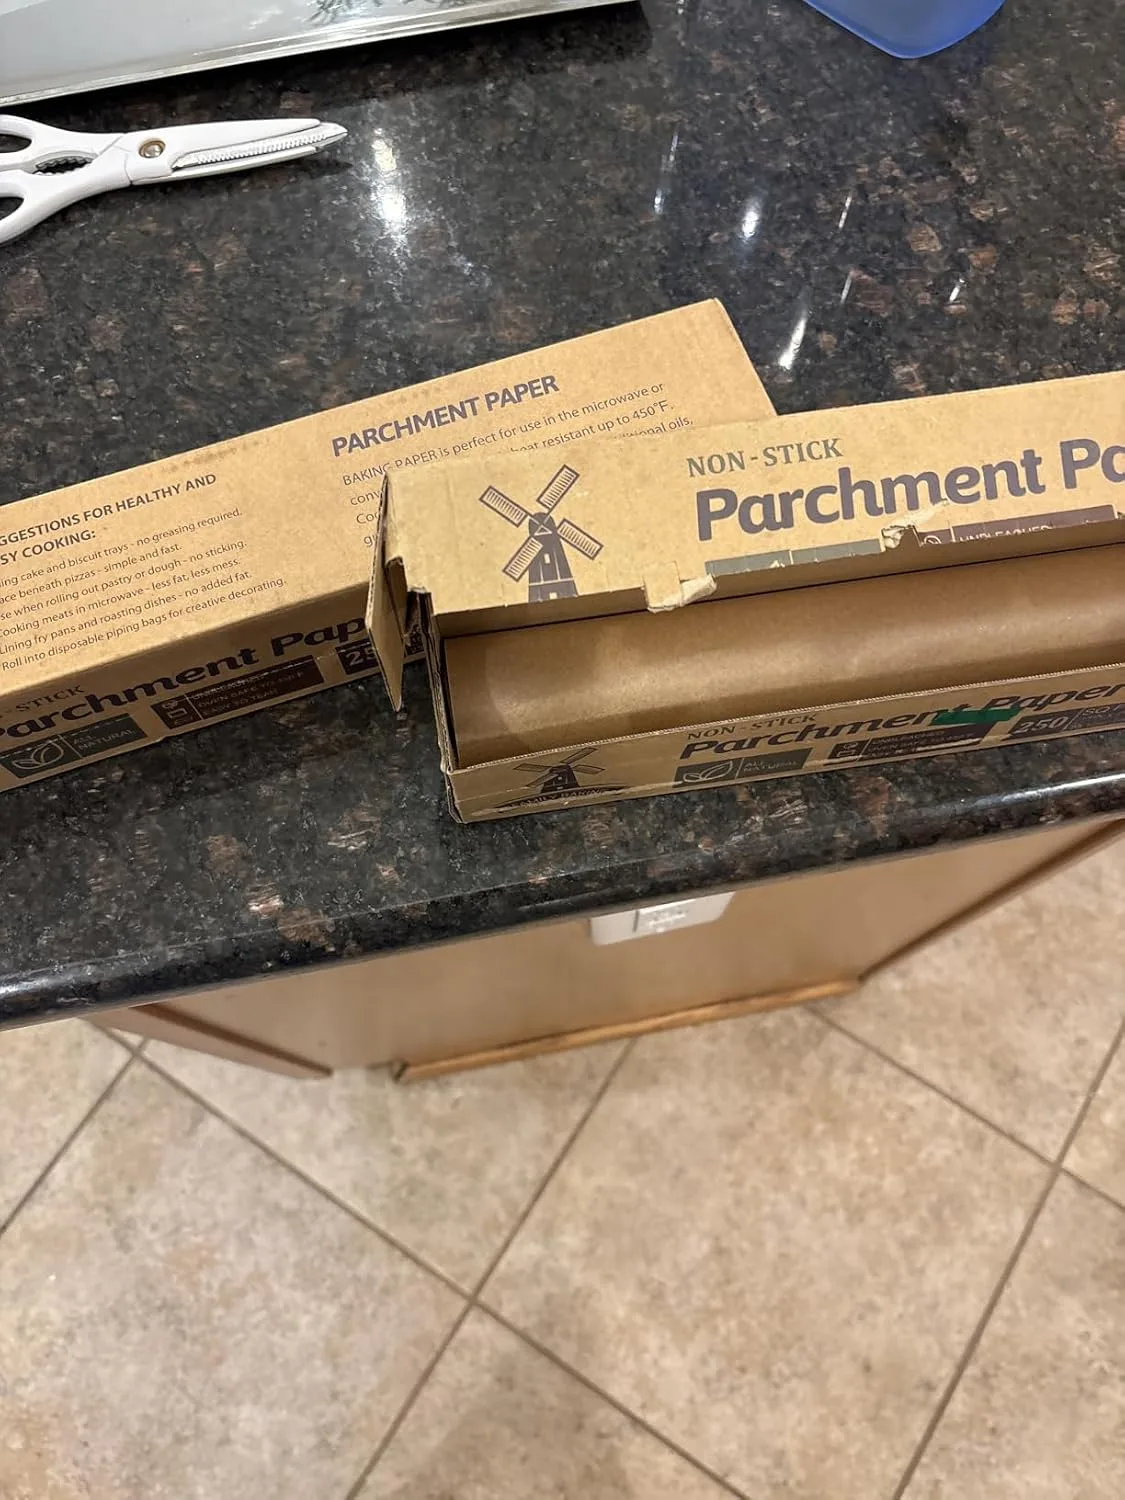
- Non-Stick Foundation: Line two baking sheets with parchment paper. This prevents sticking, ensures even browning on the bottom, and makes cleanup a breeze.
- Uniformity is Key: Scoop rounded tablespoons of the chilled dough onto the prepared sheets. A cookie scoop is an invaluable tool for ensuring each cookie is the same size, promoting even baking.
- Space to Spread: Leave about 2 inches of space between each dough ball. While chilling helps prevent excessive spreading, giving them room ensures they don’t merge into one giant cookie.
The Bake: Achieving Golden Perfection
Baking is where your patiently prepared dough transforms into a fragrant, golden delight. Watch closely for the visual cues of doneness.
- Visual Cues: Bake for 10-12 minutes. Look for golden brown edges that are firm to the touch. The centers should appear set – no longer wet or shiny, though they might still look slightly soft.
- Don’t Overbake: Resist the urge to overbake! Cookies continue to cook slightly from residual heat after being removed from the oven. Pulling them out when the centers are just set will ensure a chewy interior.
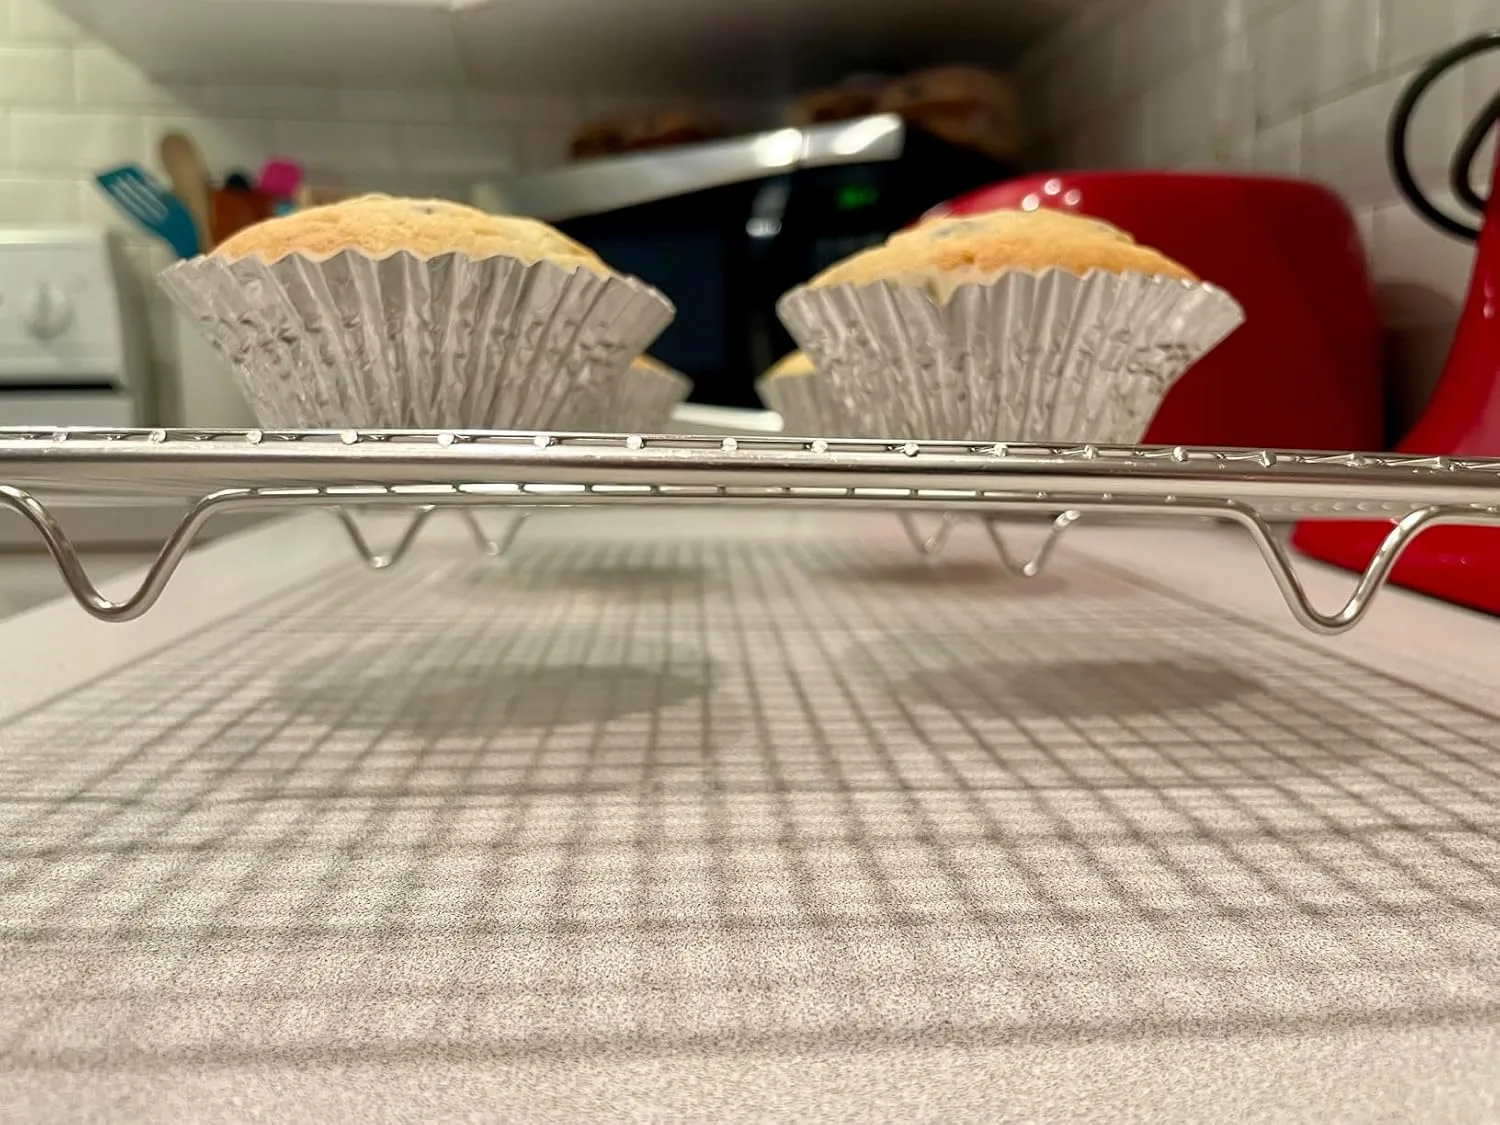
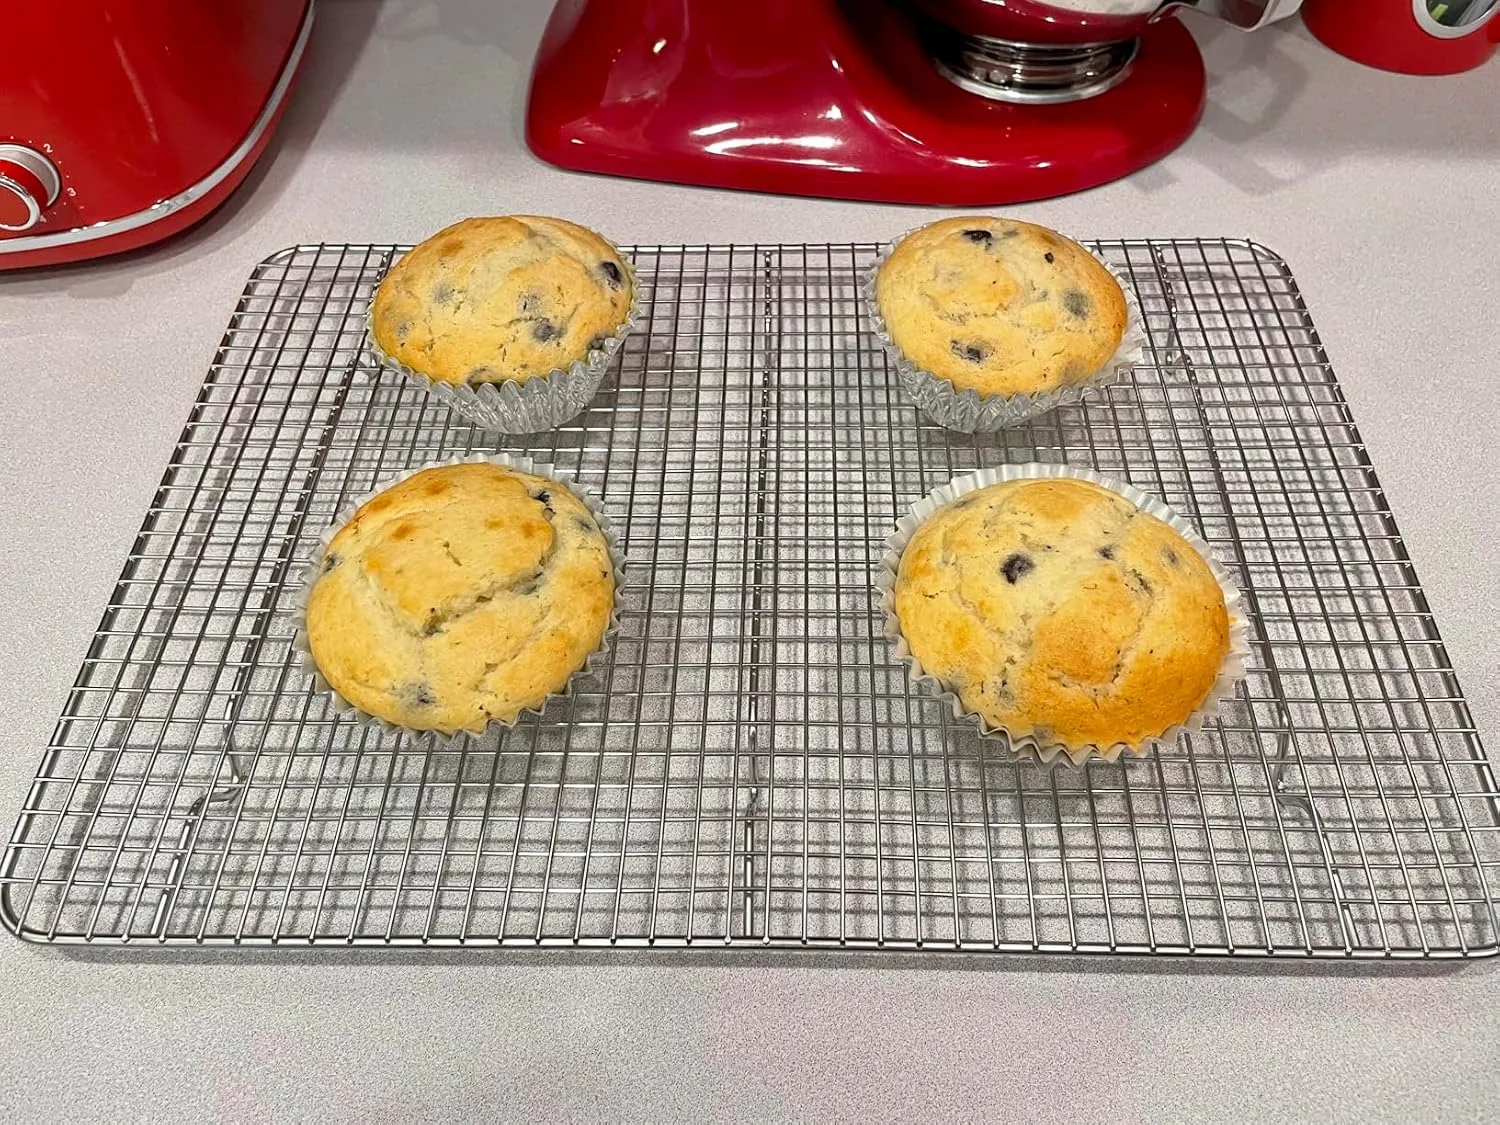
- Cooling Process: Let the cookies cool on the baking sheet for 5 minutes. This allows them to firm up before you attempt to move them. Then, carefully transfer them to a wire rack to cool completely. Cooling on a rack prevents the bottoms from becoming soggy.
The Bright Finish: Crafting the Orange Glaze
While your cookies cool, prepare a vibrant orange glaze that will provide a delightful tangy counterpoint to the warm cardamom spice.
- Lump-Free Glaze: In a small bowl, whisk together the powdered sugar (sifted, if prone to lumps), freshly grated orange zest, and 2 tablespoons of freshly squeezed orange juice.
- Consistency Control: The key is achieving the perfect drizzling consistency. Start with the suggested amount of juice, then add more, a teaspoon at a time, whisking well after each addition, until the glaze is smooth and flows easily from a spoon but isn’t too thin. It should cling slightly to the cookie without running off completely.
The Grand Finale: Garnish and Savor
The final touch brings both visual appeal and an extra burst of citrusy brightness to your cardamom cookies.
- Cool Before Glazing: Ensure the cookies are completely cool before applying the glaze. Drizzling glaze on warm cookies will cause it to melt and run off, creating a messy rather than elegant finish.
- Drizzling Technique: Use a spoon, a fork, or even a small piping bag with a fine tip to artistically drizzle the orange glaze over each cooled cookie.
- Setting Time: Allow the glaze to set for about 30 minutes. This ensures a beautiful, non-sticky finish that will hold up well for serving and storage.
- Optional Enhancements: For an extra flourish, consider sprinkling a tiny bit more fresh orange zest or a pinch of crushed pistachios over the wet glaze before it sets.
- Serve and Enjoy: Once set, your perfectly crafted cardamom cookies are ready to be savored!
Tips, Storage, and Variations
To ensure your cookies are perfect every time, keep a few things in mind. First, use a light-colored pan for browning the butter. This helps you see the color change clearly and prevent burning. Second, do not skip chilling the dough. It is a critical step for achieving a thick, chewy cookie texture. Finally, for a stronger orange flavor, feel free to add more zest to the glaze.
Store these cookies in an airtight container at room temperature. They will stay fresh for up to 4 days. The flavors actually deepen by the second day, making them a great make-ahead treat.
For a fun variation, consider adding a half-cup of toasted, chopped pistachios or almonds to the dough. The nuts complement the brown butter and cardamom wonderfully. You could also dip half of each cookie in melted white chocolate for an extra layer of decadence.
A Truly Unforgettable Cookie
Why These Cookies Will Become Your New Signature Dessert
The magic of these brown butter cardamom cookies lies in their sophisticated flavor profile that transforms a simple cookie into an extraordinary culinary experience. Unlike traditional chocolate chip or sugar cookies, this recipe creates a multi-layered taste journey that unfolds with each bite.
The Flavor Symphony That Makes Them Irresistible
The complexity begins with the brown butter foundation, which provides:
- Deep, toasted notes reminiscent of hazelnuts and caramel
- A rich, almost cheese-like depth that adds sophistication
- An aromatic quality that fills your kitchen with warmth
Cardamom’s exotic appeal elevates the entire cookie:
- Delivers floral, slightly citrusy undertones
- Adds warmth without overwhelming heat
- Creates an unexpected twist that keeps people guessing the “secret ingredient”
The bright orange glaze serves as the perfect counterpoint by:
- Cutting through the richness with vibrant acidity
- Adding visual appeal with its glossy finish
- Providing a fresh, clean finish that prevents flavor fatigue
Perfect Occasions for These Show-Stopping Treats
For entertaining:
- Holiday cookie exchanges where you want to stand out
- Dinner parties as an elegant dessert accompaniment
- Book club meetings or afternoon tea gatherings
- Housewarming gifts that demonstrate thoughtfulness
For personal indulgence:
- Weekend baking projects when you crave something special
- Stress-baking sessions that yield impressive results
- Rainy day activities that fill your home with amazing aromas
- Self-care moments paired with premium coffee or tea
Master the Technique for Guaranteed Success
The brown butter process requires patience and attention:
- Watch for the color change from golden to amber
- Listen for the sizzling to quiet as water evaporates
- Smell for nutty aromatics that signal perfect browning
- Remove from heat immediately to prevent burning
Dough chilling is non-negotiable because it:
- Prevents excessive spreading during baking
- Allows flavors to meld and intensify
- Creates the perfect chewy-crispy texture balance
- Makes the dough easier to handle and shape
Temperature control ensures consistency:
- Use an oven thermometer to verify accurate heat
- Rotate pans halfway through baking for even browning
- Cool completely before glazing to prevent melting
The Lasting Impact of This Recipe
These cookies create memorable moments that extend far beyond the baking process. Guests will remember the unexpected sophistication, the perfect balance of flavors, and the evident care you put into creating something truly special. The combination of familiar baking techniques with exotic spices demonstrates both culinary confidence and creativity.
Whether you’re building your reputation as a skilled baker or simply seeking a recipe that delivers restaurant-quality results at home, these brown butter cardamom cookies with orange glaze represent the perfect intersection of accessible technique and impressive outcome.
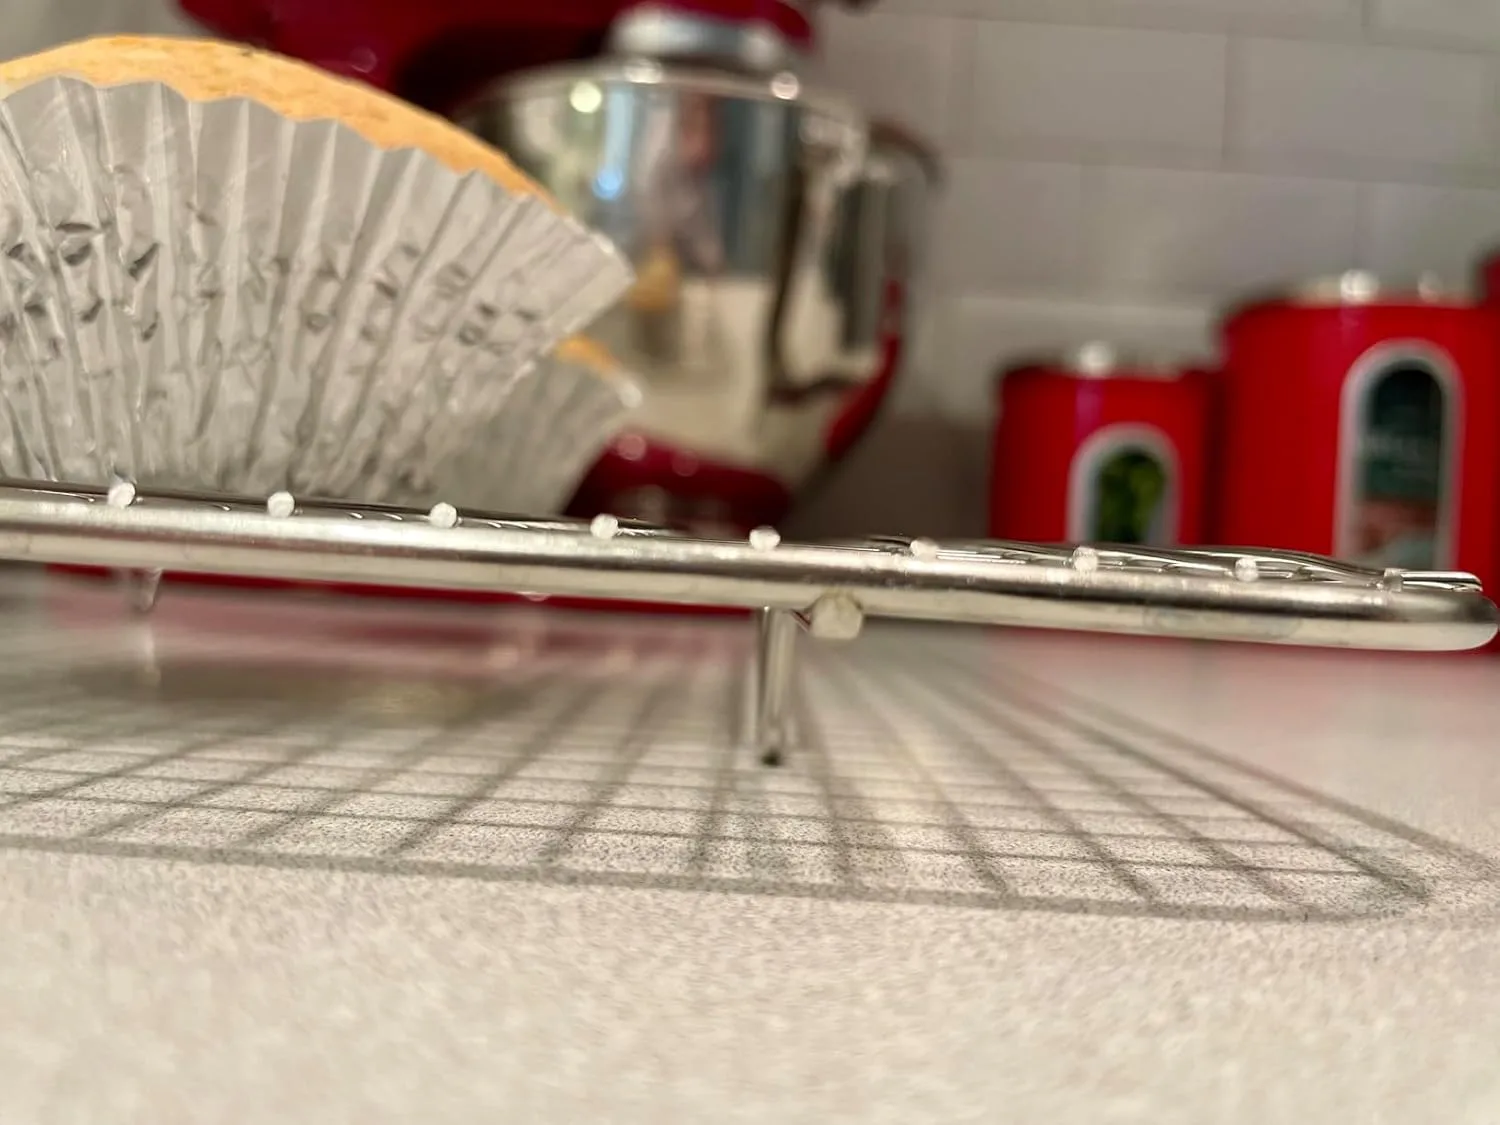
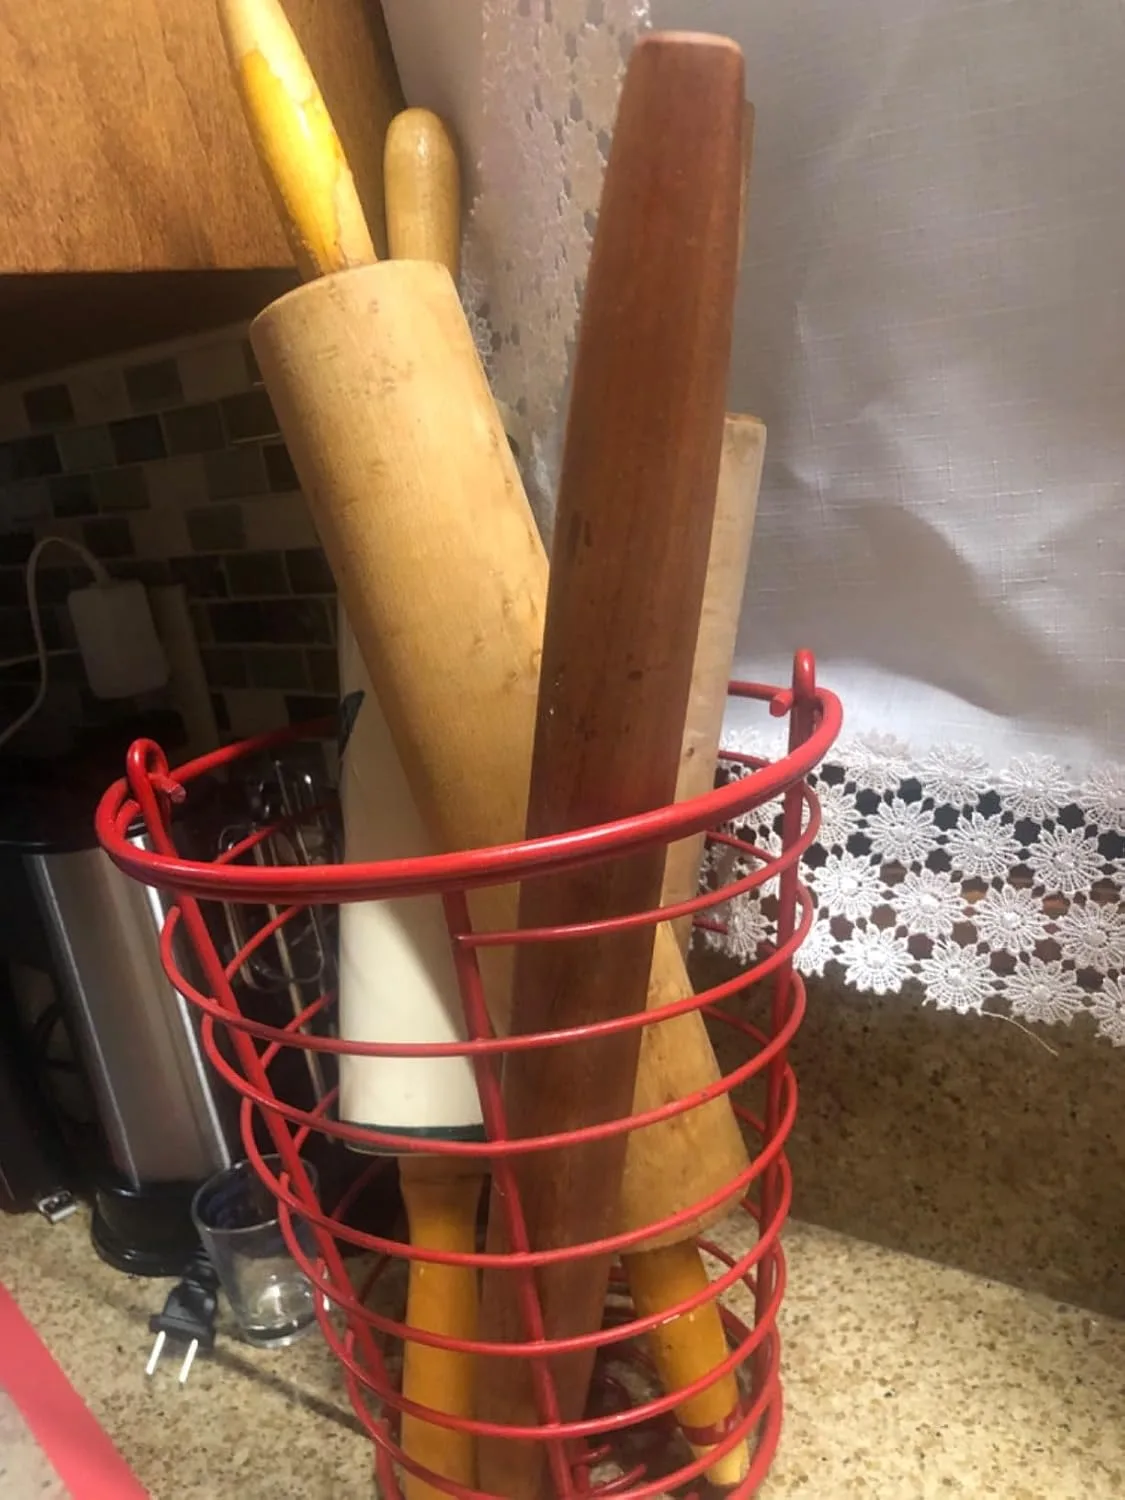
A wooden rolling pin provides the right balance of weight and control to achieve the perfect dough thickness. Additionally, high-quality parchment paper prevents cookies from sticking to your baking sheets and makes cleanup effortless. Finally, a sturdy wire cooling rack allows air to circulate around your freshly baked cookies, preventing soggy bottoms and ensuring even cooling.
As an Amazon Associate, I earn from qualifying purchases.
The Rolling Pin That Finally Stopped My Cardamom Cookies From Spreading Unevenly
Getting uniform thickness with cardamom dough is trickier than it sounds—these cookies are delicate and the dough softens quickly, so you need a rolling pin that gives you real control without sticking or dragging. I learned this the hard way after years of uneven baking and cookies that spread differently on the same tray.
What works
- The weighted barrel keeps consistent pressure across the dough without requiring me to bear down, which means less distortion of the cardamom and orange flavors being pressed into thin, even layers.
- The tapered handles give me precise edge control when I’m rolling close to the parchment boundary, preventing those annoying thin spots that bake too dark.
- The surface grip is textured just enough that sticky brown butter dough doesn’t slide around mid-roll, but smooth enough that I’m not fighting resistance.
What doesn’t
- It’s heavier than my old pin, which actually took me a few batches to trust—I kept thinking I was pressing too hard when I really wasn’t.
- At this price point, it’s not something you grab casually; it’s a tool you commit to, so if you’re still experimenting with rolling versus dropping your dough, it might feel like overkill.
I almost abandoned it after batch three when I thought the weight was crushing the delicate cardamom essence, but then I realized I was just being impatient—the cookies came out perfectly. If you’re serious about rolled cookies with thin, even bakes, this rolling pin is worth every penny.
This post contains affiliate links. As an Amazon Associate, I earn from qualifying purchases at no extra cost to you.
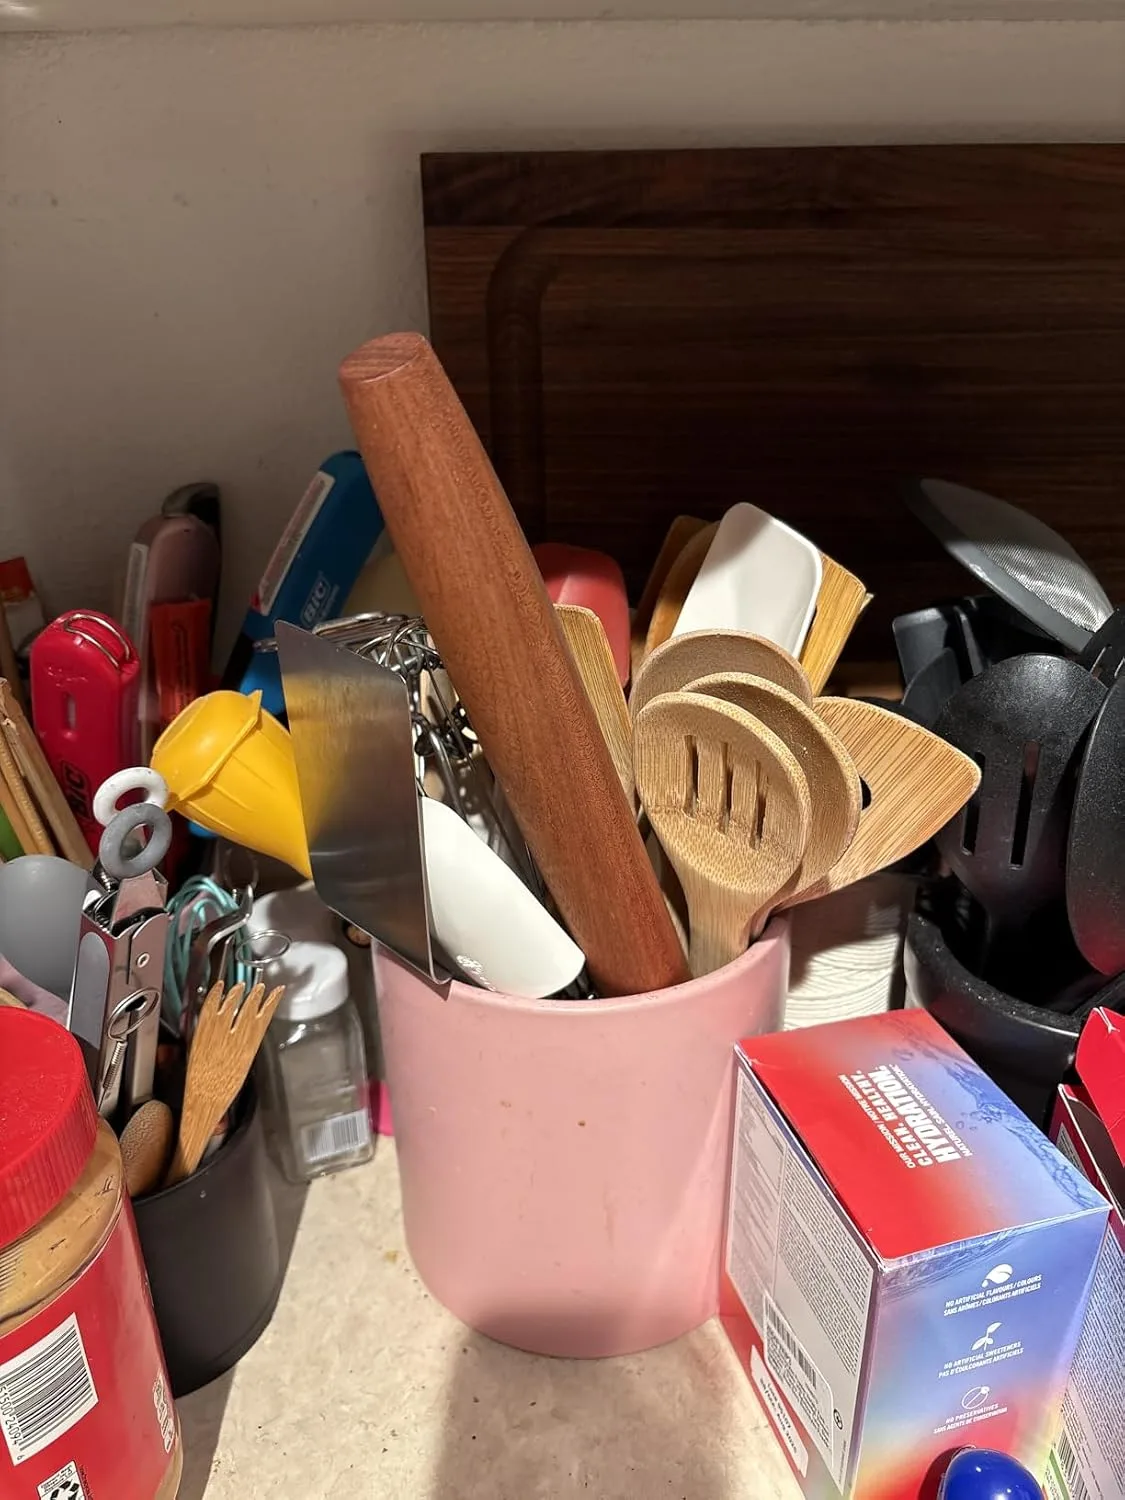
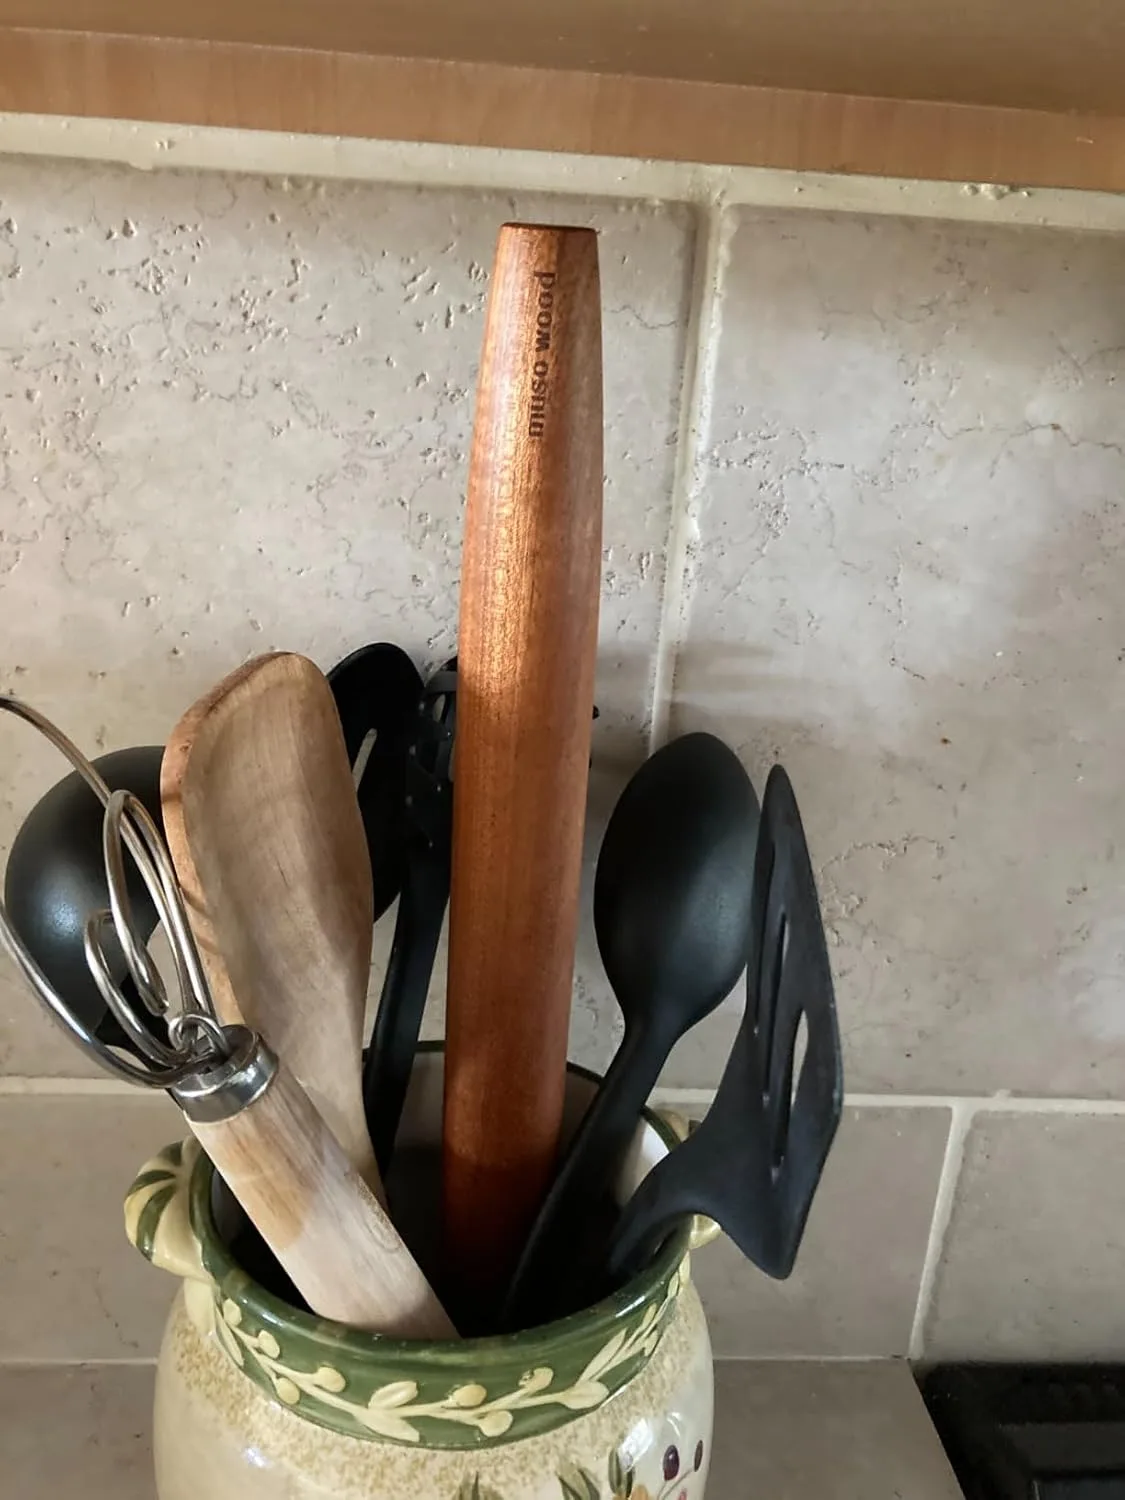
rolling pin
I stopped fighting sticky dough halfway through rolling once I switched to the textured grip.
Check Price on Amazon →