Spring brings fresh inspiration for advanced bakers.
Mastering Easter Cookie Art
Achieving beautiful, bakery-quality Easter cookies seems daunting. Many home bakers feel intimidated by intricate designs. Furthermore, creating perfectly symmetrical shapes can be a real challenge. However, the secret lies not in innate talent alone. It often comes down to employing the proper specialized gear. Consequently, even novice decorators can elevate their craft. This guide will reveal the essential items. You can then confidently tackle any Easter cookie project.
Essential Tools for Intricate Designs
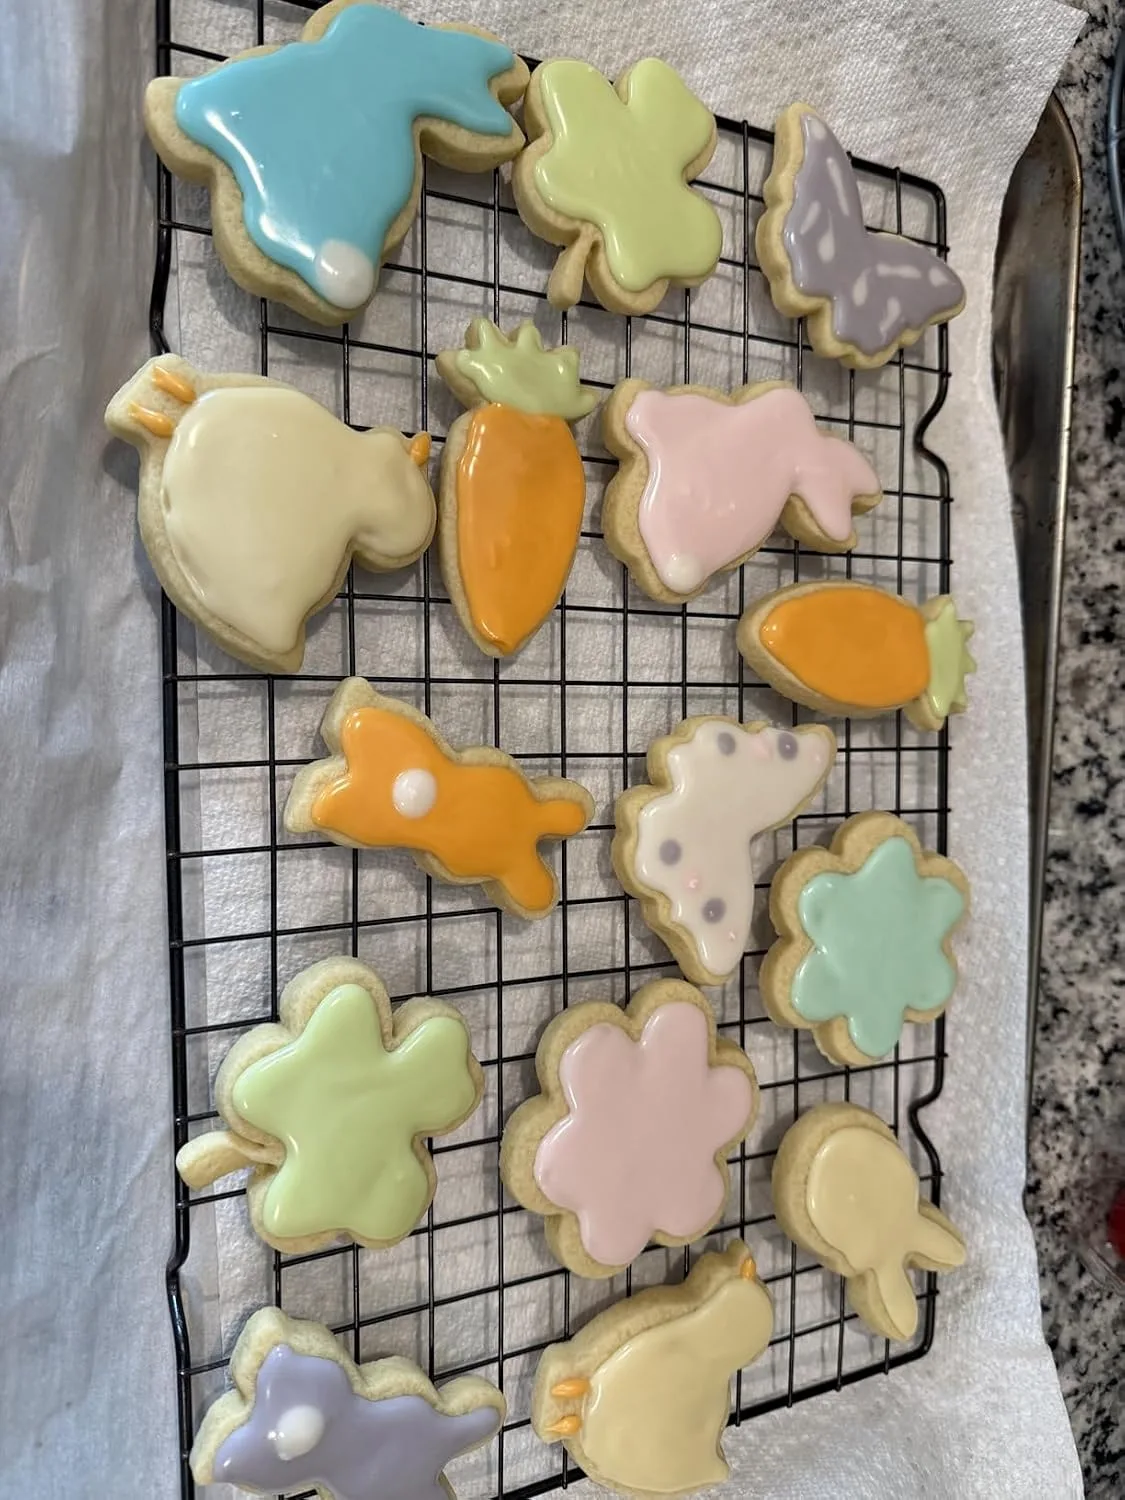
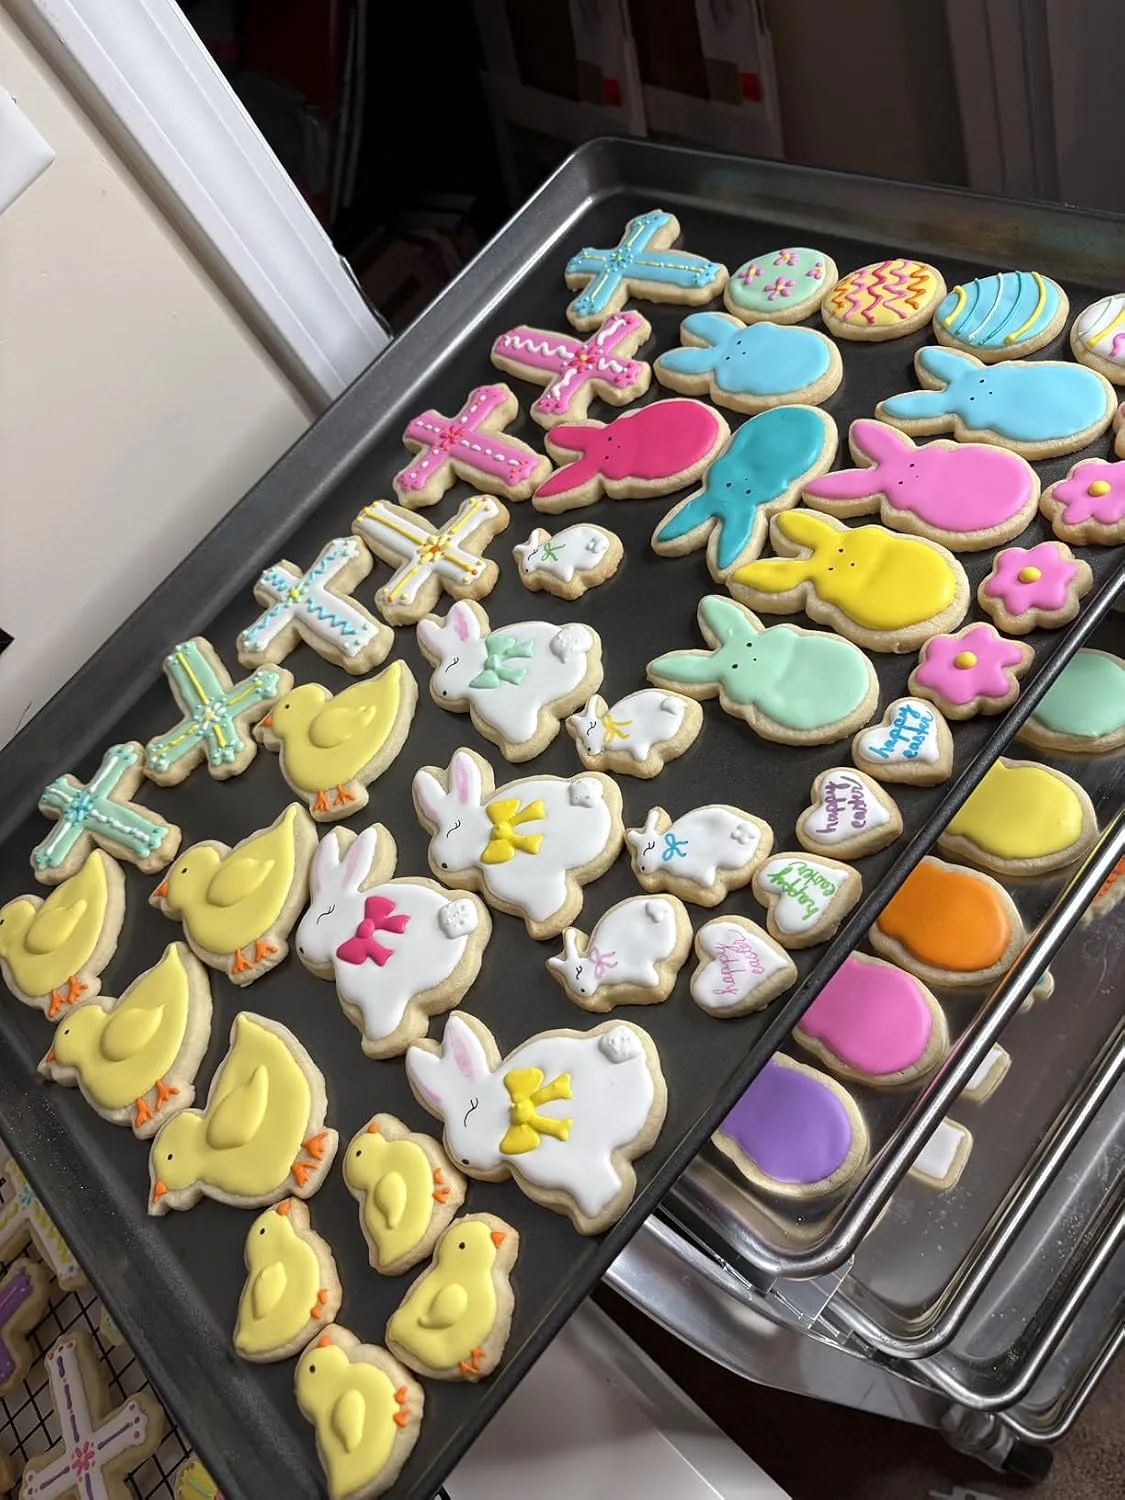
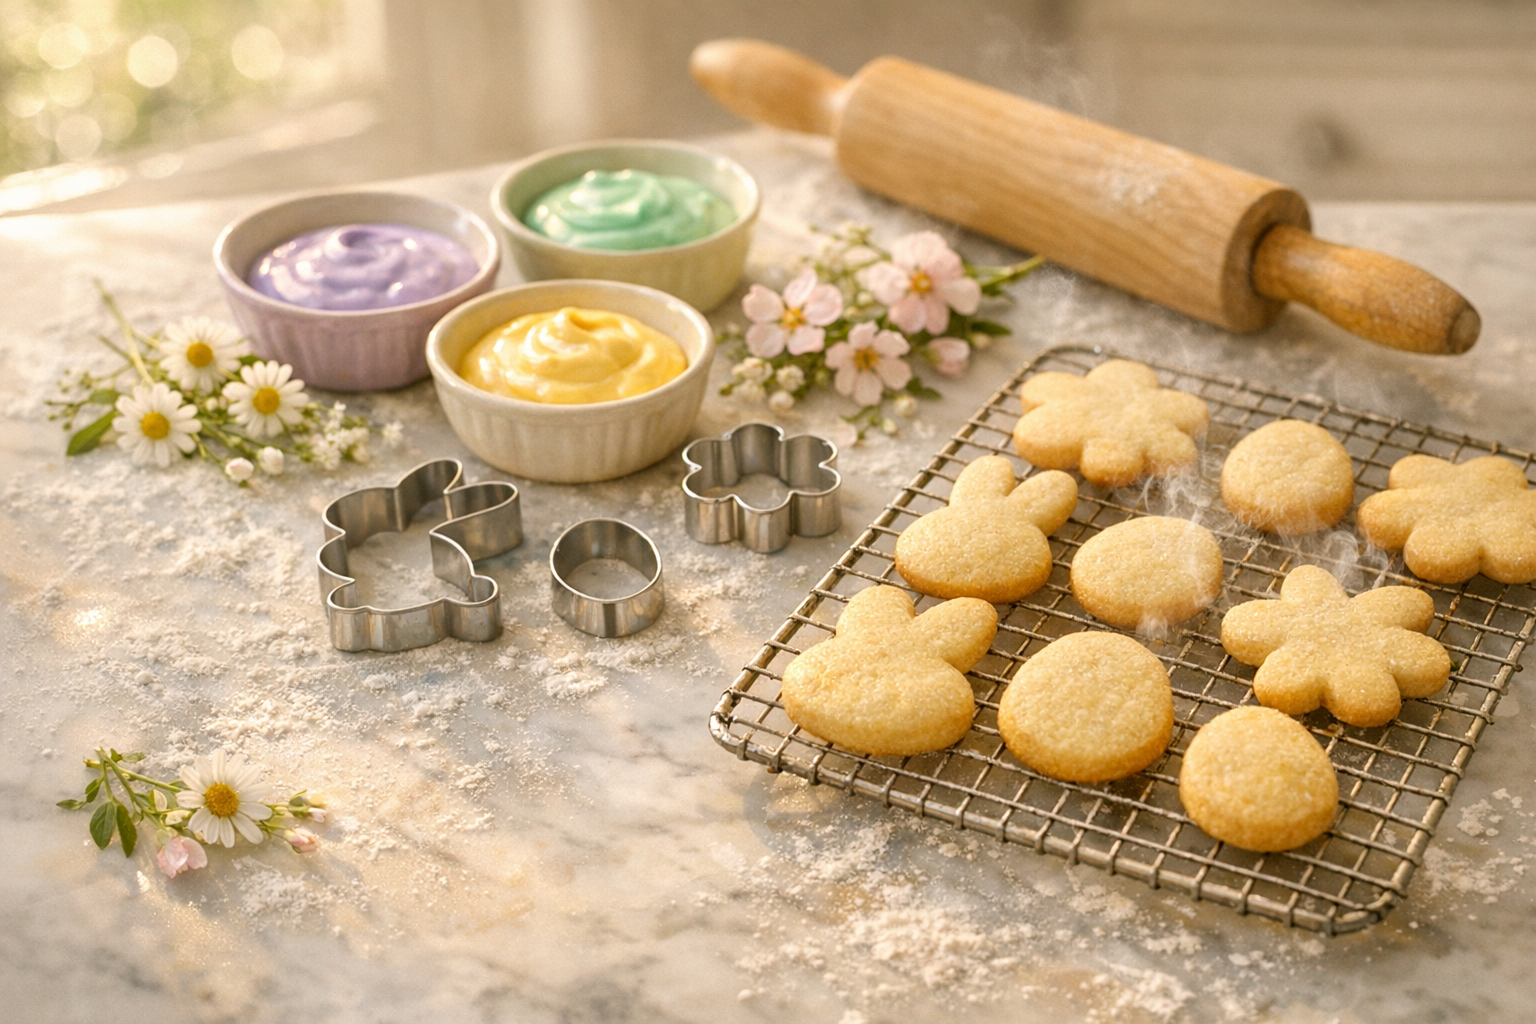
First, cookie cutters are fundamental for stunning Easter shapes. Gone are the days of simple round cookies. Instead, embrace a delightful array of themed cutters. For example, choose intricate bunnies, delicate eggs, or cheerful chicks. Plunger cutters also offer added detail. They imprint designs directly onto the dough. Moreover, metal cutters provide sharp, clean edges. This precision is crucial for professional-looking treats.
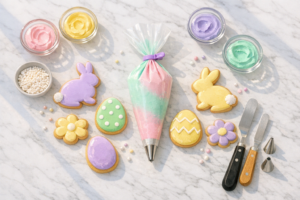
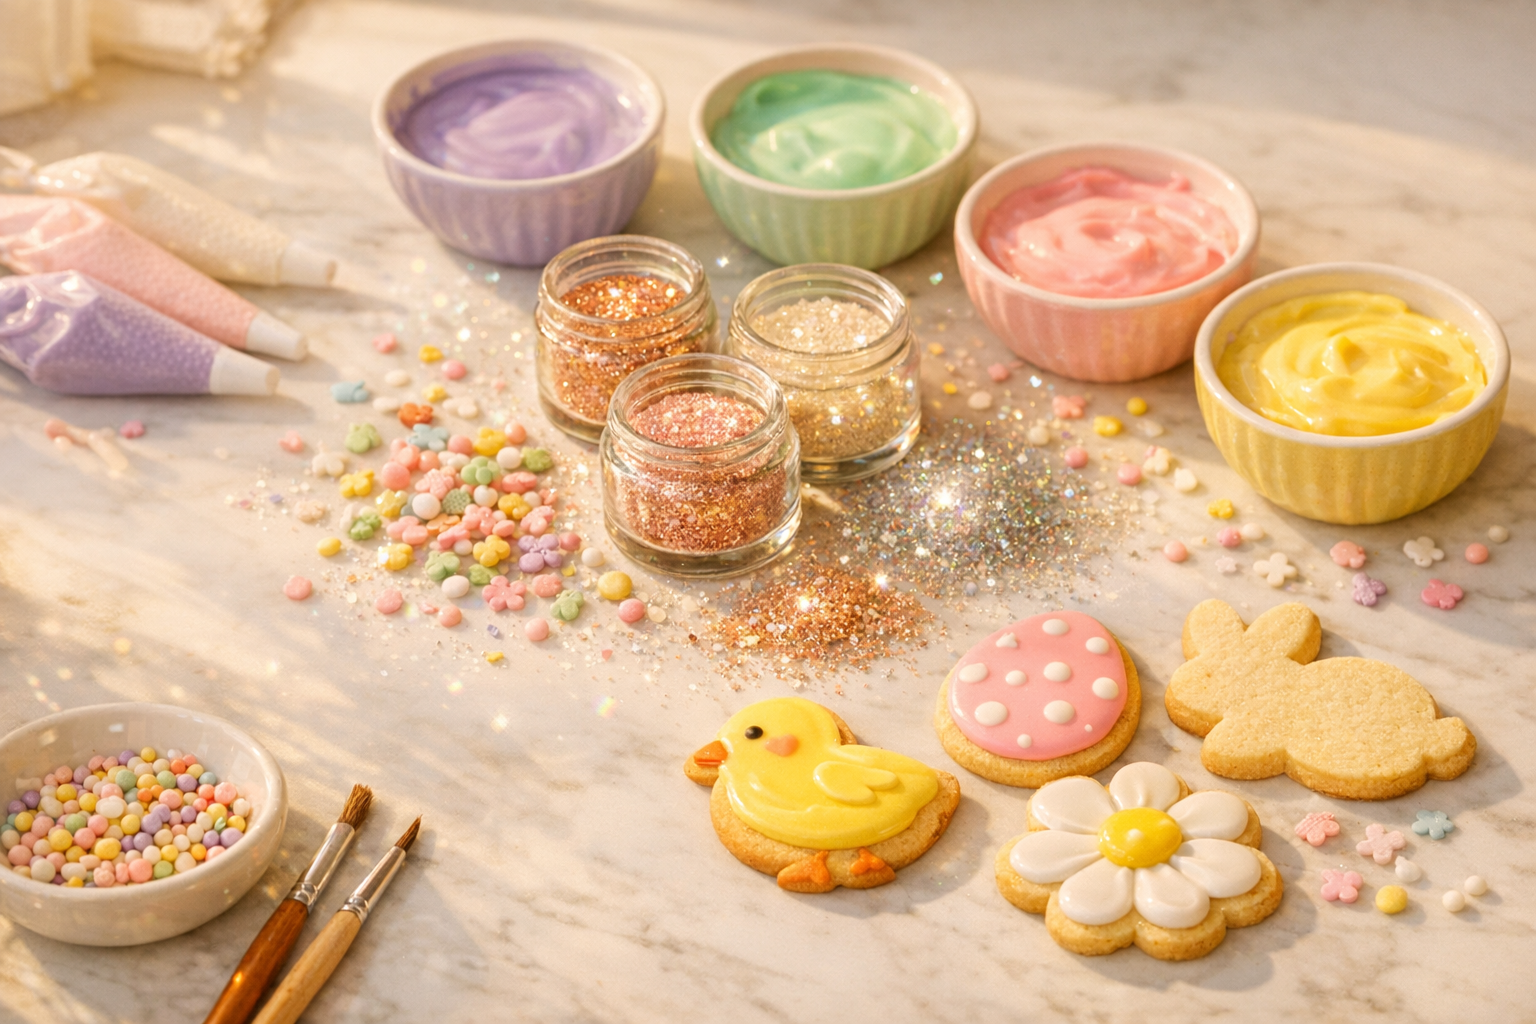
Next, mastering icing application requires specific tools. High-quality piping bags are indispensable. Consider both disposable and reusable options. Furthermore, a variety of piping tips unlocks endless design possibilities. Small round tips are perfect for fine outlines. Conversely, star tips create lovely borders. Additionally, a scribe tool helps smooth icing. It also allows for intricate wet-on-wet techniques. These tools ensure flawless decorative finishes.
Fine-tipped food-grade brushes are another professional secret. They apply edible paints or dusts with precision. Consequently, you can add subtle shading or vibrant accents. Stencils also simplify complex patterns. Simply place them over your iced cookies. Then, brush or airbrush edible color. This creates consistent and beautiful designs quickly. Moreover, edible markers offer freehand detailing. They are ideal for adding small faces or text.
Elevating Presentation
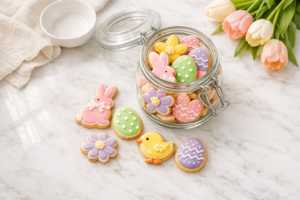
Finally, consider the impact of finishing touches. A diverse sprinkle collection is essential. Think pastel nonpareils or shimmering sugar crystals. These add texture and sparkle. Furthermore, edible glitter can transform simple cookies. It gives them a magical, festive glow. Special packaging supplies also elevate your presentation. Therefore, your Easter cookie gifts will truly impress. These small details make a significant difference. Source
The Cutters That Finally Stopped Giving Me Ragged Edges and Wonky Shapes
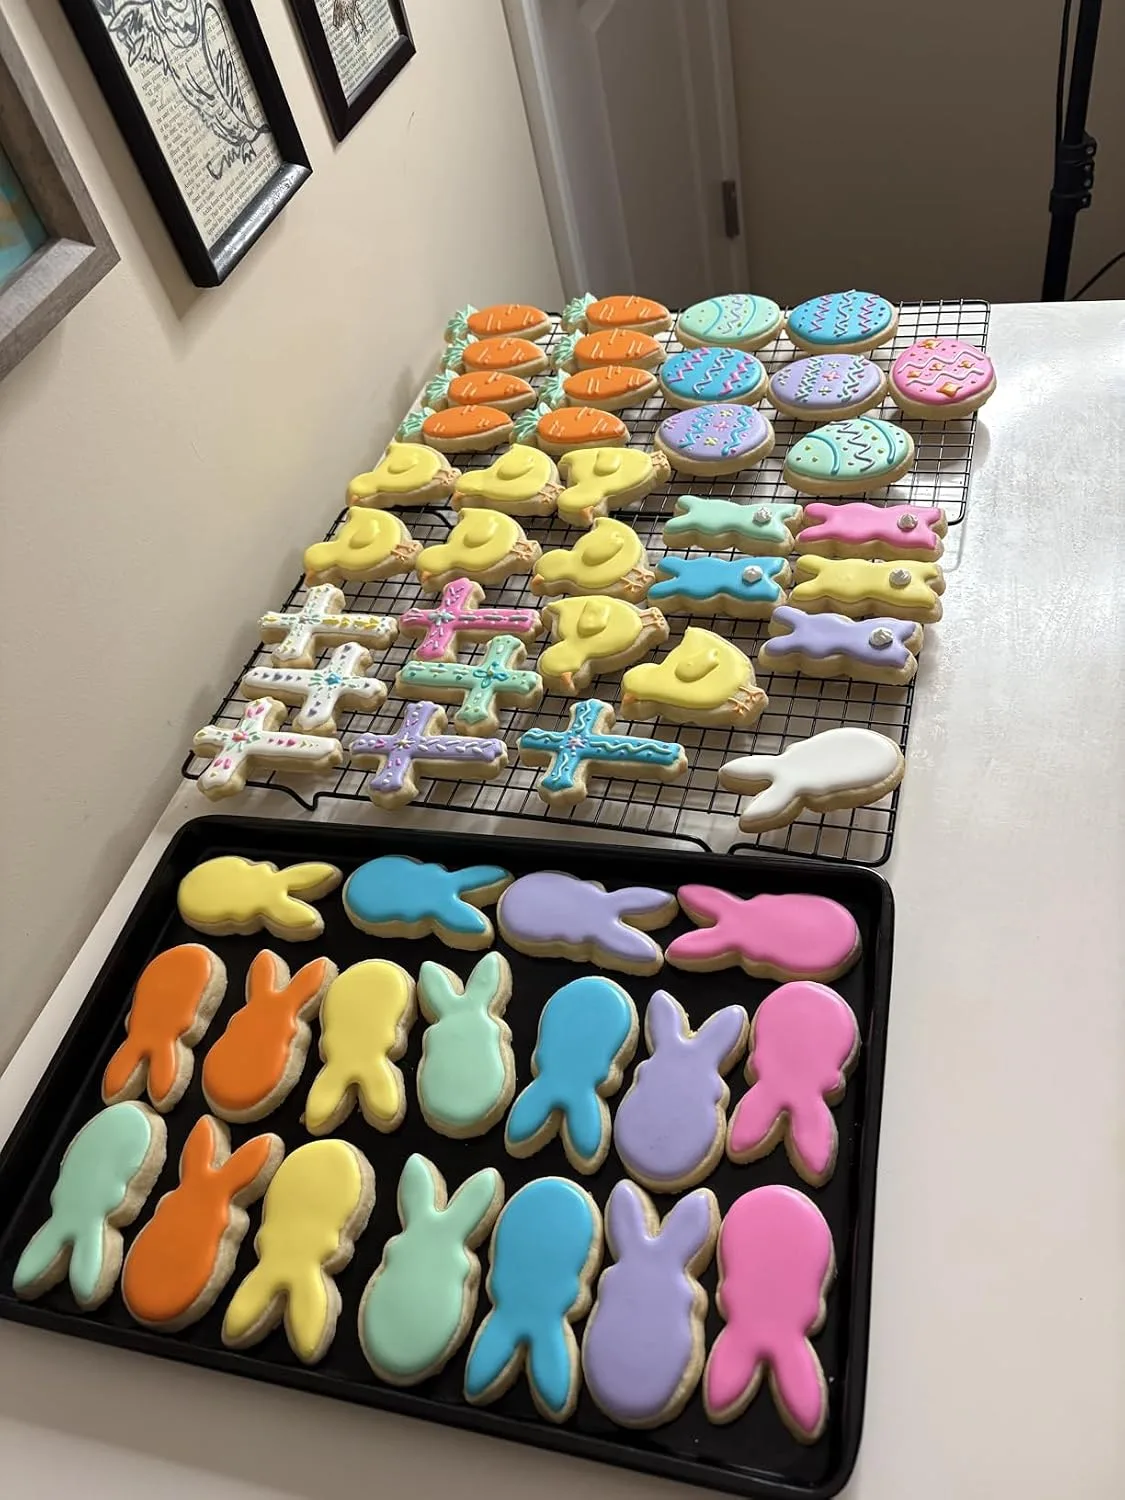
After years of struggling with flimsy cutters that bent mid-cut and left me with lumpy bunny silhouettes, I realized that symmetrical Easter cookie shapes aren’t about artistic talent—they’re about tools that actually hold their form when you press through dough. Bad cutters sabotage even the most carefully rolled, perfectly chilled dough.
What works
- The metal stays rigid when I press down hard, so I get clean, sharp edges instead of that smudged, compressed line around the perimeter that makes cookies look amateurish.
- Easter-specific designs (tulips, chicks, detailed eggs) actually read clearly on the finished cookie instead of collapsing into abstract blobs once they bake and spread slightly.
- They pop dough out cleanly without requiring me to wiggle and wrestle, which means less distortion to the shape before it even hits the oven.
What doesn’t
- They’re heavier than cheap cutters, so my hand does get tired when I’m cutting out three dozen cookies for a holiday batch—I’ve learned to take breaks between sets.
- The intricate details can trap dough if you’re not careful with your release technique, especially on designs with thin connecting points like bunny ears.
I’ll admit I second-guessed the investment when I first opened the package and saw the price tag, wondering if I was overthinking a tool I’d maybe use once a year. But the moment I used them on my first Easter batch this spring and actually got symmetrical shapes without that heartbreaking moment of peeling a mangled cookie off my counter, it clicked: quality Easter cookie cutters really do make the difference between “nice try” and “did you make these professionally?”
This post contains affiliate links. As an Amazon Associate, I earn from qualifying purchases at no extra cost to you.