
Why Make Sandwich Cookies at Home?
Store-bought sandwich cookies often contain preservatives and artificial ingredients. Making them at home lets you control what goes into your treats. You can customize flavors, adjust sweetness, and create cookies that match your dietary needs.
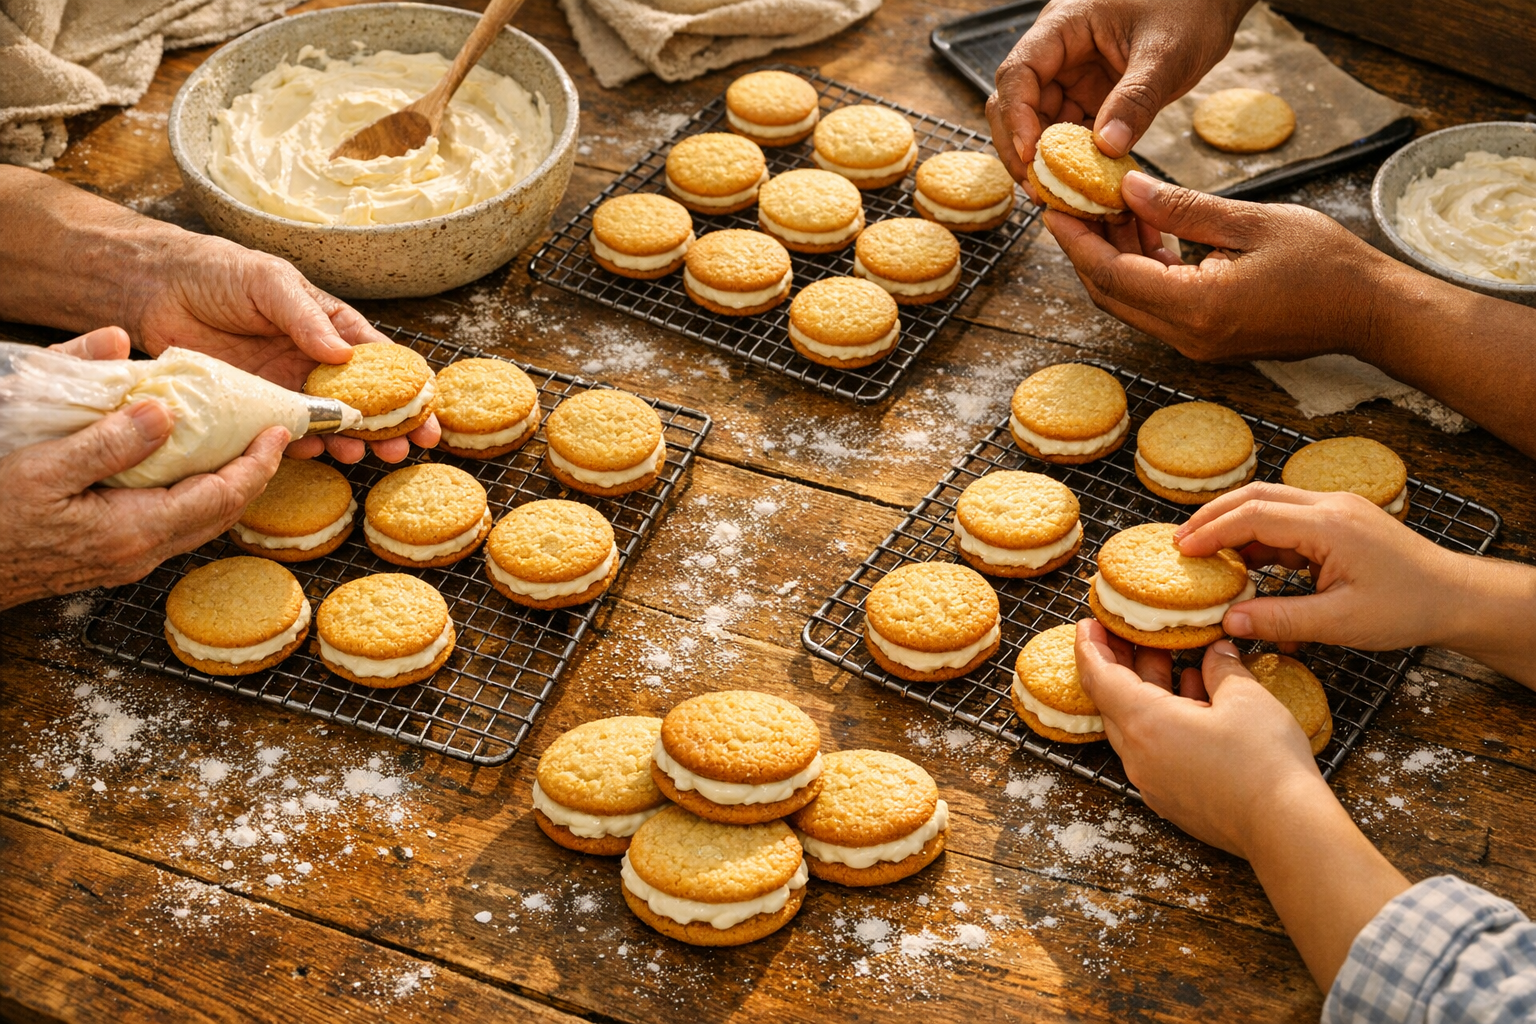
Homemade versions taste fresher and more flavorful than commercial options. Additionally, baking from scratch costs less than buying premium cookie brands. The process itself becomes a fun activity for families and friends.
The best part? You don’t need professional equipment or advanced skills. Basic kitchen tools and simple ingredients work perfectly. Furthermore, you can make large batches and freeze them for later enjoyment.
Essential Ingredients for Perfect Sandwich Cookies
The cookie portion requires flour, sugar, butter, and eggs as foundational elements. However, the specific type of flour matters significantly. All-purpose flour creates a tender crumb, while gluten-free blends work for those with dietary restrictions.
For the filling, you’ll need butter or a plant-based alternative. Powdered sugar creates the smooth, sweet base that defines these treats. Moreover, vanilla extract adds depth and rounds out the flavor profile beautifully.
Cocoa powder transforms basic cookies into chocolate versions. Salt enhances sweetness and balances flavors throughout both components. Consequently, never skip this crucial ingredient even though the amount seems small.
Choosing the Right Flour
All-purpose flour delivers classic results with reliable texture. It provides structure without making cookies too tough or dense. The protein content sits in the ideal range for tender baked goods.
Gluten-free flour blends require slight adjustments to your technique. Source . These blends work best when combined with xanthan gum or similar binders. Otherwise, your cookies might crumble too easily when assembled.
What I Recommend
A quality stand mixer is honestly a game-changer when you’re making sandwich cookies. The creaming and mixing happen so evenly and quickly, which means your dough comes together perfectly every time without any arm fatigue on your end. I use mine constantly for both the cookie dough and the filling.
If you want perfectly uniform sandwich cookies, a cookie scoop is absolutely worth the investment. I reach for mine every single time I bake—it ensures each cookie is the same size so they bake evenly and look beautifully consistent when you sandwich them together.
For lining your baking sheets, I swear by parchment paper to prevent sticking and make cleanup a breeze. These sheets are the perfect size and thickness, and they’re essential when you’re working with delicate sandwich cookie doughs.
I always reach for stainless steel measuring cups when measuring out my dry ingredients for cookie dough. They’re durable, easy to read, and they make leveling off flour so much cleaner and more accurate.
When you’re making chocolate sandwich cookies, high-quality organic cacao powder really does make a difference in flavor. The richness you’ll get from good cacao is noticeably better than standard options, and your filling will taste even more decadent.
For vanilla-based cookies and fillings, I reach for pure vanilla extract without compromise. The real vanilla flavor is so much more sophisticated than imitation, and it elevates the entire batch.
Organic all-purpose flour gives you a reliable, quality base for your sandwich cookie dough. I love knowing exactly what’s going into my baking, and this flour performs beautifully every time.
Almond flour creates a nutty, rich flavor profile. This option works wonderfully for grain-free diets. Nevertheless, it produces a more delicate cookie that requires gentle handling.
Selecting Your Fat Source
Butter provides unmatched flavor and creates perfect texture in both cookies and filling. It should be softened to room temperature before mixing. Cold butter won’t incorporate properly, resulting in uneven dough.
Coconut oil serves as an excellent dairy-free alternative. It solidifies at room temperature, which helps the filling maintain structure. Furthermore, refined coconut oil won’t add coconut flavor to your cookies.
Vegan butter substitutes work remarkably well in these recipes. They cream with sugar just like dairy butter does. Choose brands specifically designed for baking rather than spreading.
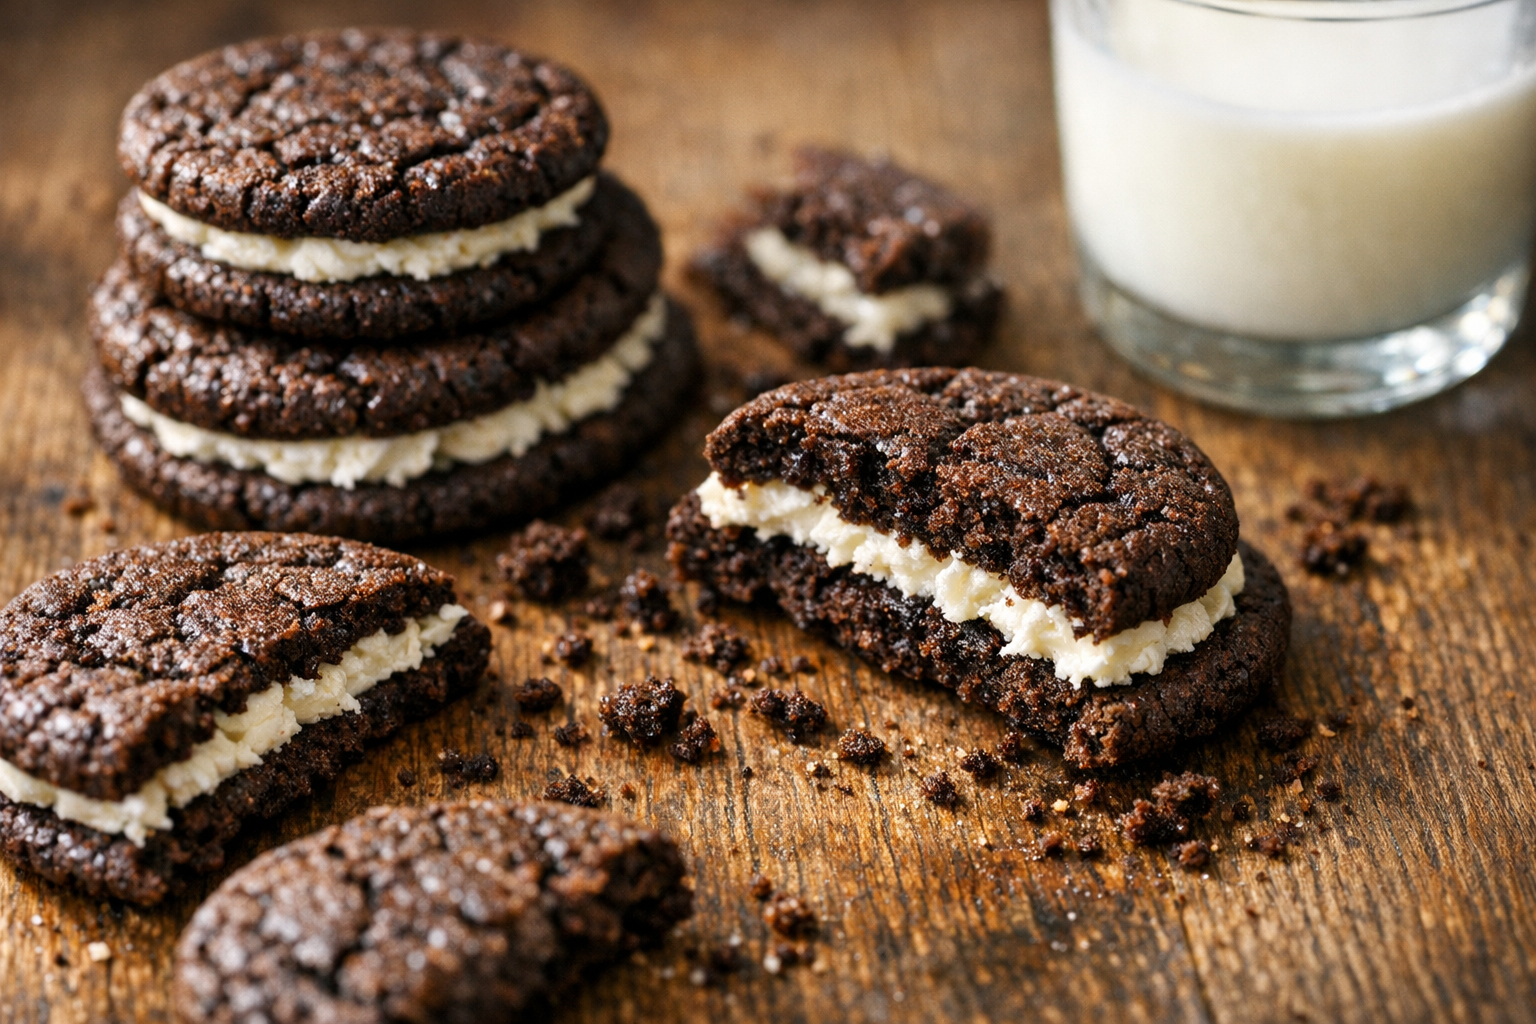
Classic Chocolate Sandwich Cookies Recipe
Classic Chocolate Sandwich Cookies
Ingredients:
- 1¾ cups all-purpose flour
- ¾ cup unsweetened cocoa powder
- 1 teaspoon baking soda
- ¼ teaspoon baking powder
- ¼ teaspoon salt
- 1 cup unsalted butter, softened
- 1 cup granulated sugar
- 1 large egg
- 1 teaspoon vanilla extract
For the Cream Filling:
- ½ cup unsalted butter, softened
- 2 cups powdered sugar
- 2 teaspoons vanilla extract
- 2 tablespoons heavy cream or milk
Instructions:
- Preheat your oven to 375°F and line two baking sheets with parchment paper.
- Whisk together flour, cocoa powder, baking soda, baking powder, and salt in a medium bowl.
- Beat butter and sugar in a large bowl until light and fluffy, about 3 minutes.
- Add egg and vanilla to the butter mixture, beating until fully combined.
- Gradually mix in the dry ingredients until a smooth dough forms.
- Roll dough into 1-inch balls and place them 2 inches apart on prepared baking sheets.
- Flatten each ball slightly with the bottom of a glass dipped in sugar.
- Bake for 9-11 minutes until edges are set but centers still look slightly soft.
- Cool cookies on the baking sheet for 5 minutes, then transfer to a wire rack.
- For the filling, beat softened butter until creamy and smooth.
- Gradually add powdered sugar, beating on low speed to prevent a sugar cloud.
- Mix in vanilla extract and cream, then beat on high for 2 minutes until fluffy.
- Spread or pipe filling onto the flat side of half the cookies, using about 1 tablespoon per cookie.
- Top with remaining cookies, pressing gently to spread filling to the edges.
- Store in an airtight container at room temperature for up to 5 days.
Vegan and Gluten-Free Sandwich Cookies
Dietary restrictions shouldn’t mean missing out on delicious treats. This version delivers the same satisfying crunch and creamy filling. Moreover, most people can’t tell the difference from traditional recipes.
Vegan Gluten-Free Sandwich Cookies
Ingredients:
- 2 cups gluten-free flour blend (with xanthan gum)
- ½ cup unsweetened cocoa powder
- 1 teaspoon baking soda
- ½ teaspoon salt
- ¾ cup coconut oil, softened
- 1 cup coconut sugar
- ¼ cup unsweetened applesauce
- 2 teaspoons vanilla extract
For the Vegan Filling:
- ½ cup coconut oil, softened
- 2½ cups powdered sugar
- 2 teaspoons vanilla extract
- 2-3 tablespoons plant-based milk
- 1 tablespoon cornstarch (for stability)
Instructions:
- Preheat oven to 350°F and line baking sheets with parchment paper.
- Combine gluten-free flour, cocoa powder, baking soda, and salt in a bowl.
- Beat coconut oil and coconut sugar together until well combined, about 2 minutes.
- Add applesauce and vanilla to the oil mixture, stirring until smooth.
- Mix in dry ingredients gradually until dough comes together without being sticky.
- Chill dough for 15 minutes if it seems too soft to handle.
- Roll dough into 1-inch balls and place on prepared baking sheets.
- Flatten each ball to about ¼-inch thickness using a flat-bottomed glass.
- Bake for 10-12 minutes until edges are firm and tops look dry.
- Let cookies cool completely on the baking sheet before moving them.
- For the filling, beat coconut oil until smooth and creamy.
- Add powdered sugar one cup at a time, mixing well after each addition.
- Stir in cornstarch, vanilla, and enough plant-based milk to reach spreading consistency.
- Beat on high speed for 2 minutes until filling becomes light and fluffy.
- Assemble cookies by spreading filling on one cookie and topping with another.
- Refrigerate assembled cookies for 30 minutes to set the filling before serving.
Troubleshooting Common Cookie Problems
Crumbly dough often results from too much flour or not enough fat. Measure flour by spooning it into the cup rather than scooping. This prevents packing too much flour into your measurement. Additionally, ensure your butter or oil is properly softened before mixing.
Cookies that spread too much indicate warm dough or insufficient chilling time. Refrigerate your dough for 30 minutes before baking. This step helps cookies maintain their shape in the oven.
Fixing Filling Issues
Runny filling happens when you add too much liquid or the fat isn’t solid enough. Start with less liquid than the recipe calls for. You can always add more to reach the desired consistency. Conversely, you cannot remove excess liquid once added.
Grainy filling results from undermixing or using granulated sugar instead of powdered. Beat the filling for at least 2 minutes after adding all ingredients. This incorporates air and creates a smooth, fluffy texture.
For dairy-free fillings that won’t stabilize, cornstarch works as an excellent thickener. It prevents separation and helps the filling maintain structure. Mix it thoroughly with the powdered sugar before adding liquids.
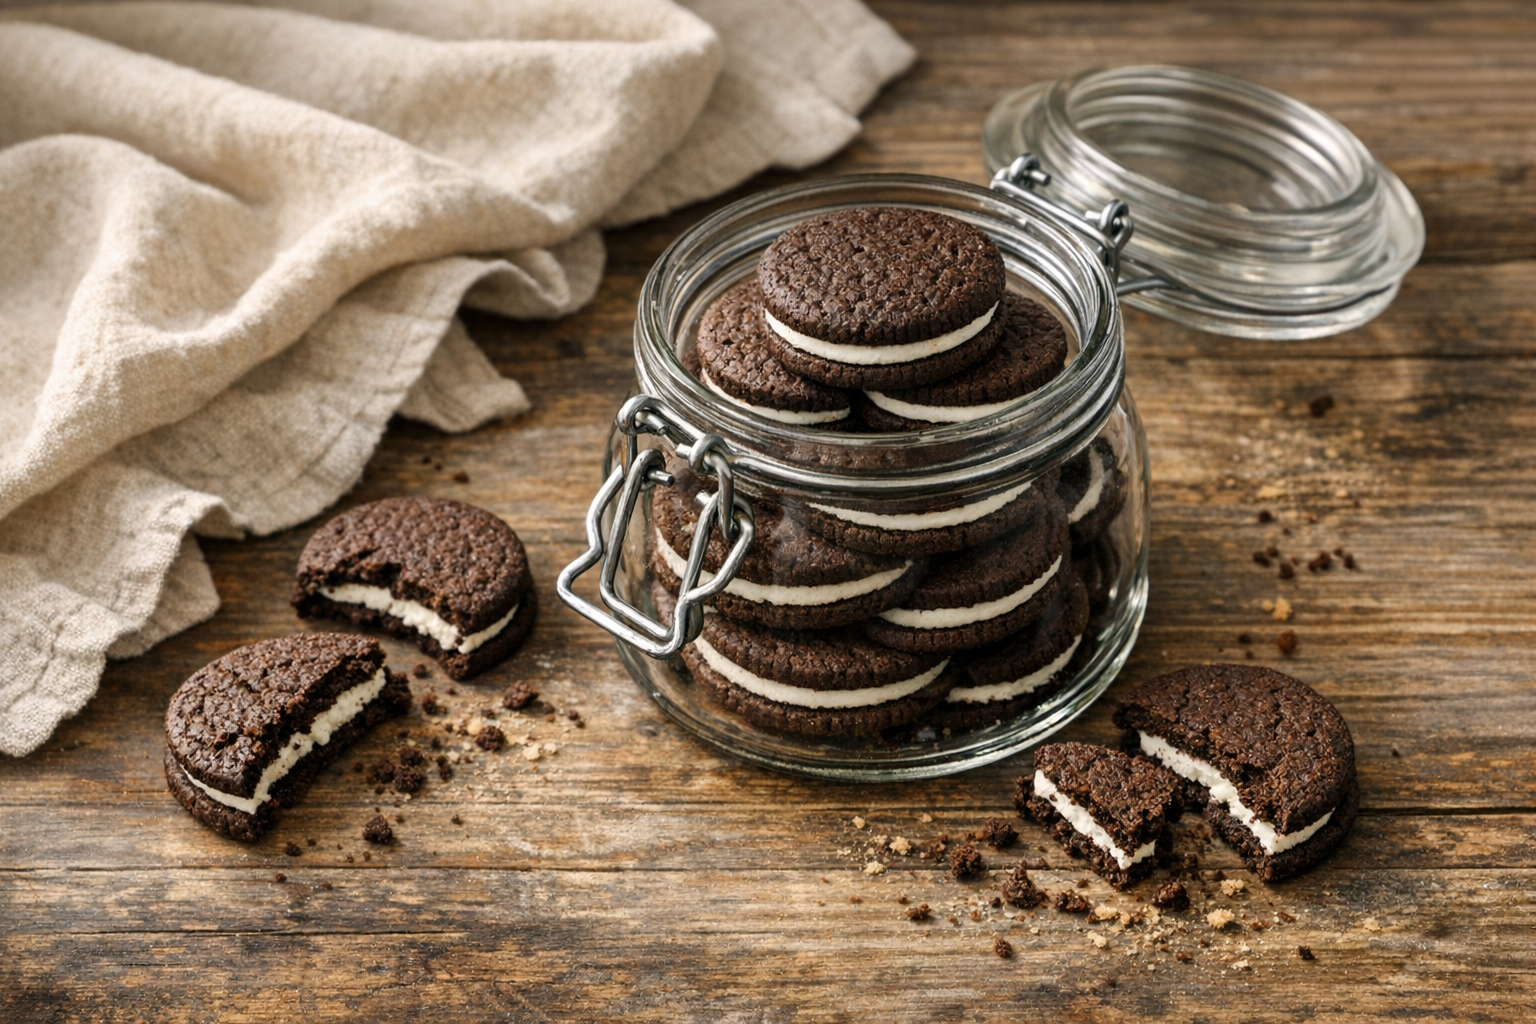
Storage and Freezing Tips
Unfilled cookies stay fresh for up to two weeks in an airtight container. Layer them with parchment paper to prevent sticking. Keep them at room temperature away from direct sunlight or heat sources.
Assembled sandwich cookies last 5-7 days when stored properly. The filling softens the cookies slightly over time, creating a better texture. However, this also means they become more delicate and require careful handling.
Freezing for Later
Freeze unfilled cookies for up to three months in freezer-safe containers. Separate layers with parchment paper to prevent them from sticking together. Thaw at room temperature for 30 minutes before filling and serving.
You can also freeze assembled sandwich cookies successfully. Wrap them individually in plastic wrap, then place in a freezer bag. This method prevents freezer burn and maintains freshness. Thaw overnight in the refrigerator for best results.
Filling can be frozen separately in an airtight container for up to two months. Let it come to room temperature and rewhip before using. This refreshes the texture and makes spreading easier.
Creative Flavor Variations
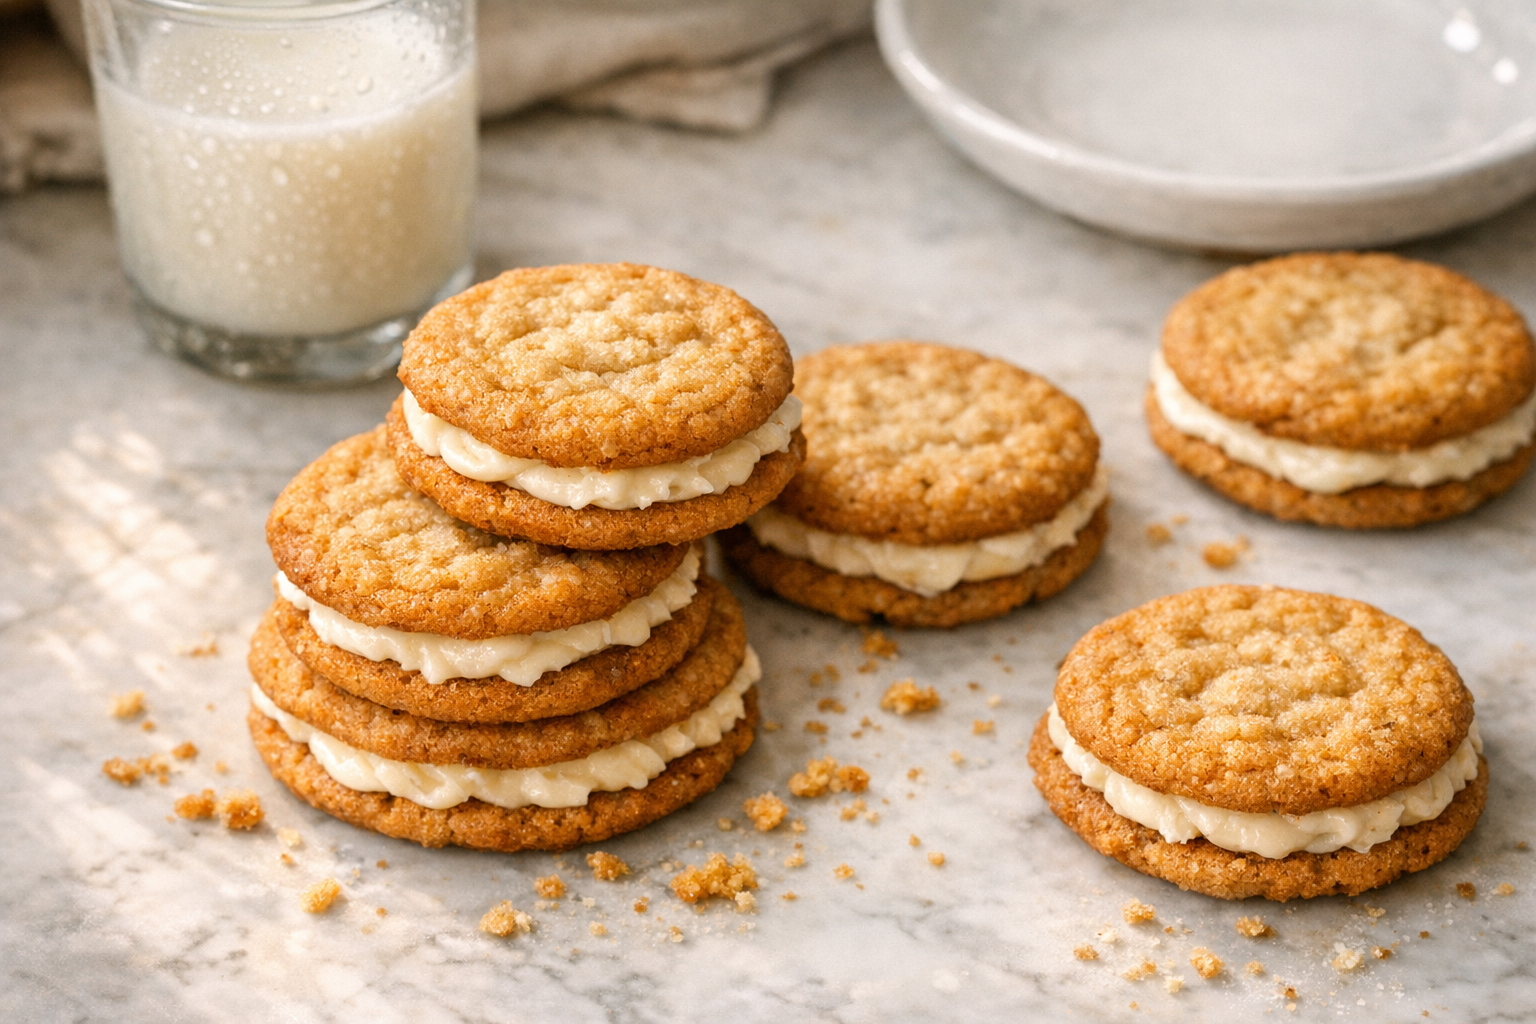
Vanilla cookies with chocolate filling reverse the classic combination beautifully. Simply omit cocoa powder from the cookie recipe and add it to the filling instead. This creates a striking visual contrast when assembled.
Peanut butter filling adds protein and nutty richness to your treats. Replace half the butter in the filling with creamy peanut butter. Beat it thoroughly to maintain a smooth, spreadable consistency.

Mint filling transforms ordinary cookies into refreshing desserts. Add ½ teaspoon peppermint extract to your basic filling recipe. A few drops of green food coloring create an appealing visual effect.
Strawberry or raspberry filling brings fruity brightness to chocolate cookies. Mix 2 tablespoons of freeze-dried fruit powder into your filling. This adds intense flavor without making the filling runny or unstable.
Making Cookies Kid-Friendly
Children love helping with cookie projects, especially the assembly process. Let them roll dough into balls and flatten them with a glass. This builds motor skills while creating excitement about baking.
Decorating assembled cookies with sprinkles adds a festive touch. Roll the edges of filled cookies in colorful sprinkles before serving. Kids enjoy choosing colors and creating their own designs.
Mini versions appeal to smaller hands and appetites. Roll dough into ½-inch balls instead of full-sized portions. These bite-sized treats bake faster and work perfectly for parties or lunchboxes.
Conclusion
Homemade sandwich cookies deliver superior taste and texture compared to store-bought versions. You control every ingredient, ensuring quality and accommodating dietary needs. The recipes provided work for traditional, vegan, and gluten-free diets equally well.
Mastering these techniques opens doors to endless flavor combinations and creative variations. Start with the basic recipes, then experiment with different fillings and cookie flavors. Your kitchen will smell amazing, and your family will appreciate the homemade touch.
Remember that practice improves your results with each batch. Don’t worry if your first attempt isn’t perfect. Even slightly imperfect homemade cookies taste better than anything from a package. Enjoy the process and the delicious results of your efforts.
*As an Amazon Associate, I earn from qualifying purchases.