I was thirty minutes into what I had confidently announced to my husband as “a quick Sunday baking project” when I realized I had absolutely zero energy left to roll individual snickerdoodle cookies. Like, not a single scrap of motivation. I had already creamed the butter, mixed the dough, and prepped the cinnamon sugar — and then I just stood there staring at the bowl like it had personally offended me. That’s the exact moment this snickerdoodle bars recipe was born in my kitchen, and honestly? Best accident of my entire baking life.
How Sheer Laziness Gave Me My New Favorite Snickerdoodle Bars Recipe
Okay, let me back up and give you the full picture. It was a rainy Sunday in October, the kind where you convince yourself you’re going to be incredibly productive, and then you spend forty-five minutes watching a YouTube video about how cheese is made. Classic. I had promised myself — and loudly, to my husband who did not ask — that I was making snickerdoodles. Full snickerdoodles. The real ones. The roll-into-balls, coat-in-cinnamon-sugar, bake-in-batches kind.
I got through the dough just fine. I was even feeling a little smug about it. Then I looked at the clock, looked at my couch, looked at the dough, looked at the couch again. You already know how this story goes. I pressed that entire batch of dough into my 9×13 pan, blanketed it in an almost aggressively generous layer of cinnamon sugar, and slid it into the oven with the quiet confidence of someone who has absolutely no idea if this will work.
Reader, it worked. Gloriously, magnificently, life-changingly worked.
Why Snickerdoodle Bars Are Actually Superior (I Said What I Said)
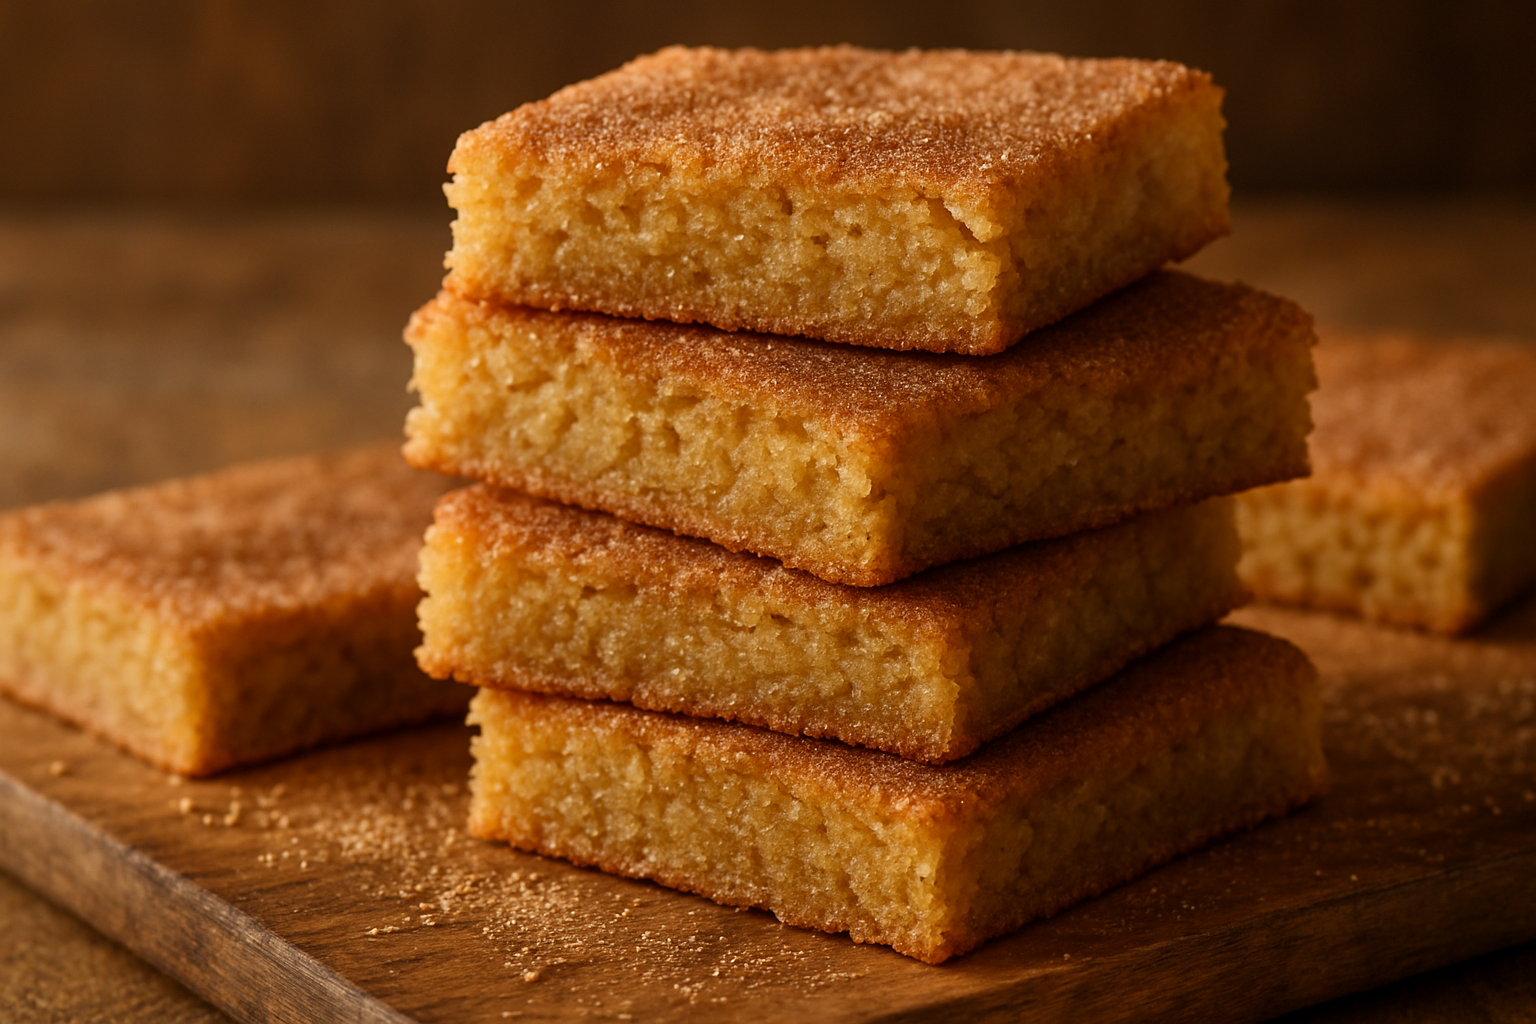
Look, I love a classic snickerdoodle cookie. I am not here to disrespect the original. But bars have this incredible textural advantage that individual cookies just can’t replicate — a soft, almost fudgy center with slightly crisp edges and a cinnamon-sugar crust on top that gets this gorgeous, lightly crackled finish. Every single bite is thick, chewy, and perfectly spiced. No dry edges, no over-baked bottoms, no sad flat cookies that spread too much. The pan does all the hard work for you, and it does it better.
Plus — and I cannot stress this enough — you make one pan. ONE. No chilling dough portions, no rotating baking sheets, no timing individual batches while also trying to watch television. You mix, you press, you bake, you cut. It’s the best math I’ve ever done.
Tips for Getting That Perfect Chewy Texture
The secret to snickerdoodle bars that are chewy rather than cakey comes down to a few key technique details. First, use room temperature butter and cream it well with your sugars — this builds the right structure. Second, don’t skip the cream of tartar. This is what makes a snickerdoodle a snickerdoodle and not just a cinnamon sugar cookie. It gives that signature slightly tangy flavor and contributes to the chewy texture. Third, and this is the big one: do not overbake. Pull the bars when the center still looks just barely set and maybe even slightly underdone. They will continue cooking on the hot pan as they cool, and that residual heat is what gives you that perfect fudgy middle.
For the cinnamon sugar topping, be generous. More generous than you think you need to be. I’m talking a solid, even layer that covers every inch of the dough surface before it goes into the oven. That crust is the whole event.
The Cinnamon Sugar Ratio That Changes Everything
For the topping, I use three parts sugar to one part cinnamon, which gives you that warm spice hit without being overwhelming. Some people go two to one, which is more intense and absolutely delicious if you really love cinnamon. I also mix a small amount of the cinnamon sugar directly into the dough itself, not just on top — this gives you that flavor woven through every layer of the bar, not just on the surface. It’s a small extra step that makes a genuinely big difference.
The Recipe: My Lazy Sunday Snickerdoodle Bars
Here’s the recipe that changed my life on that couch-staring October afternoon. This makes enough to fill a 9×13-inch baking pan with thick, chewy bars — no rolling required.
What You’ll Need
- For the dough: 1 cup (2 sticks) unsalted butter, softened; 1 cup granulated sugar; ¼ cup packed brown sugar; 2 large eggs; 1 teaspoon vanilla extract; 2¼ cups all-purpose flour (280g); 1 teaspoon cream of tartar; ½ teaspoon baking soda; ½ teaspoon salt
- For the cinnamon-sugar topping: 1½ tablespoons granulated sugar; 1 teaspoon ground cinnamon
Yield: 24–32 bars, depending on how large you cut them
How to Make Them, Step by Step
- Preheat your oven to 350°F (175°C). Lightly grease a 9×13-inch baking pan with butter or nonstick spray.
- In a large bowl, cream together the softened butter, 1 cup granulated sugar, and brown sugar until light and fluffy, about 2–3 minutes. This is the foundation of that chewy texture — don’t skip it.
- Add the eggs one at a time, beating well after each addition. Then mix in the vanilla extract until everything is smooth.
- In a separate bowl, whisk together the flour, cream of tartar, baking soda, and salt. The cream of tartar is essential — this is what makes snickerdoodles taste like snickerdoodles.
- Fold the dry ingredients into the wet ingredients until just combined. The dough should come together easily. Don’t overmix.
- Press the dough evenly into your prepared 9×13-inch pan. Use your hands or an offset spatula — you want it in a single, uniform layer so everything bakes at the same rate.
- In a small bowl, stir together the 1½ tablespoons granulated sugar and 1 teaspoon cinnamon. Sprinkle this mixture evenly over the top of the dough, making sure every bit is covered. This is where you’re generous — that cinnamon-sugar crust is the whole event.
- Bake for 25–30 minutes, until the edges are set and lightly golden but the very center still looks just barely underdone. A toothpick inserted in the middle should come out with just a few crumbs — not clean. This is crucial. The residual heat will finish cooking the center as they cool.
- Remove from the oven and let the bars cool in the pan for at least 15 minutes before cutting. They’ll firm up as they cool, and this makes cutting much cleaner.
- Once completely cool, cut into 24–32 bars, depending on whether you’re feeling generous or justified. Serve at room temperature or with a cold glass of milk — the way they’re meant to be enjoyed.
The Pan That Turned My “I’m Too Tired” Moment Into Actually Edible Bars
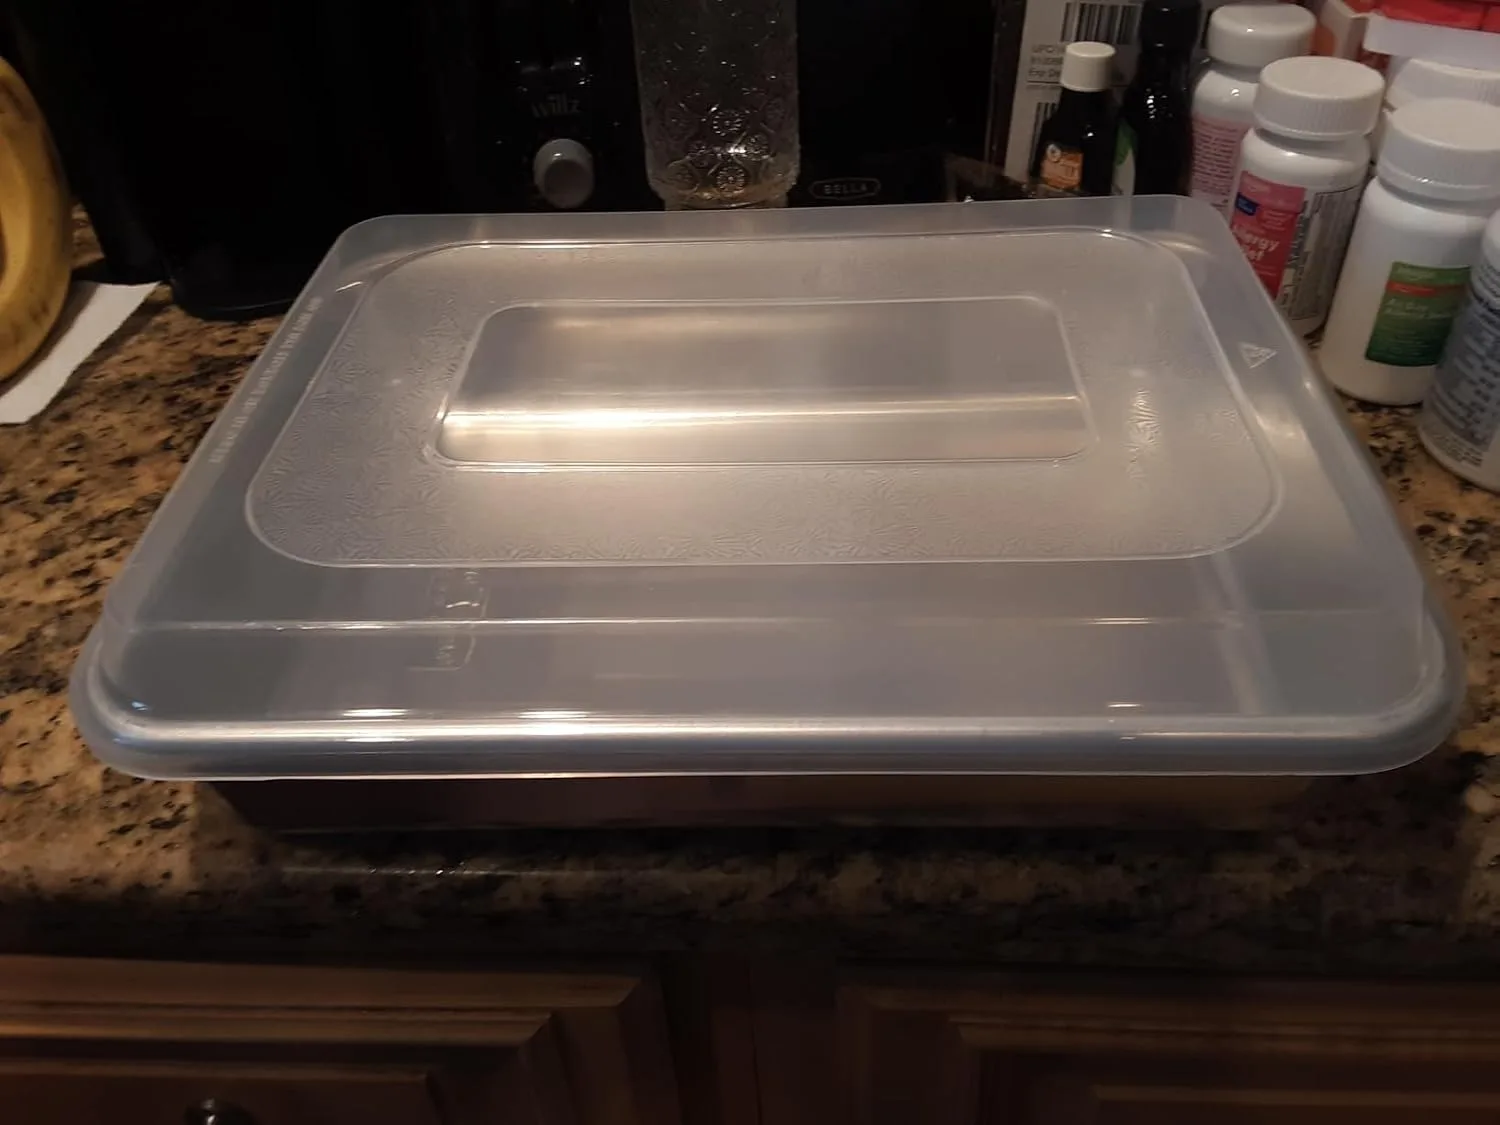
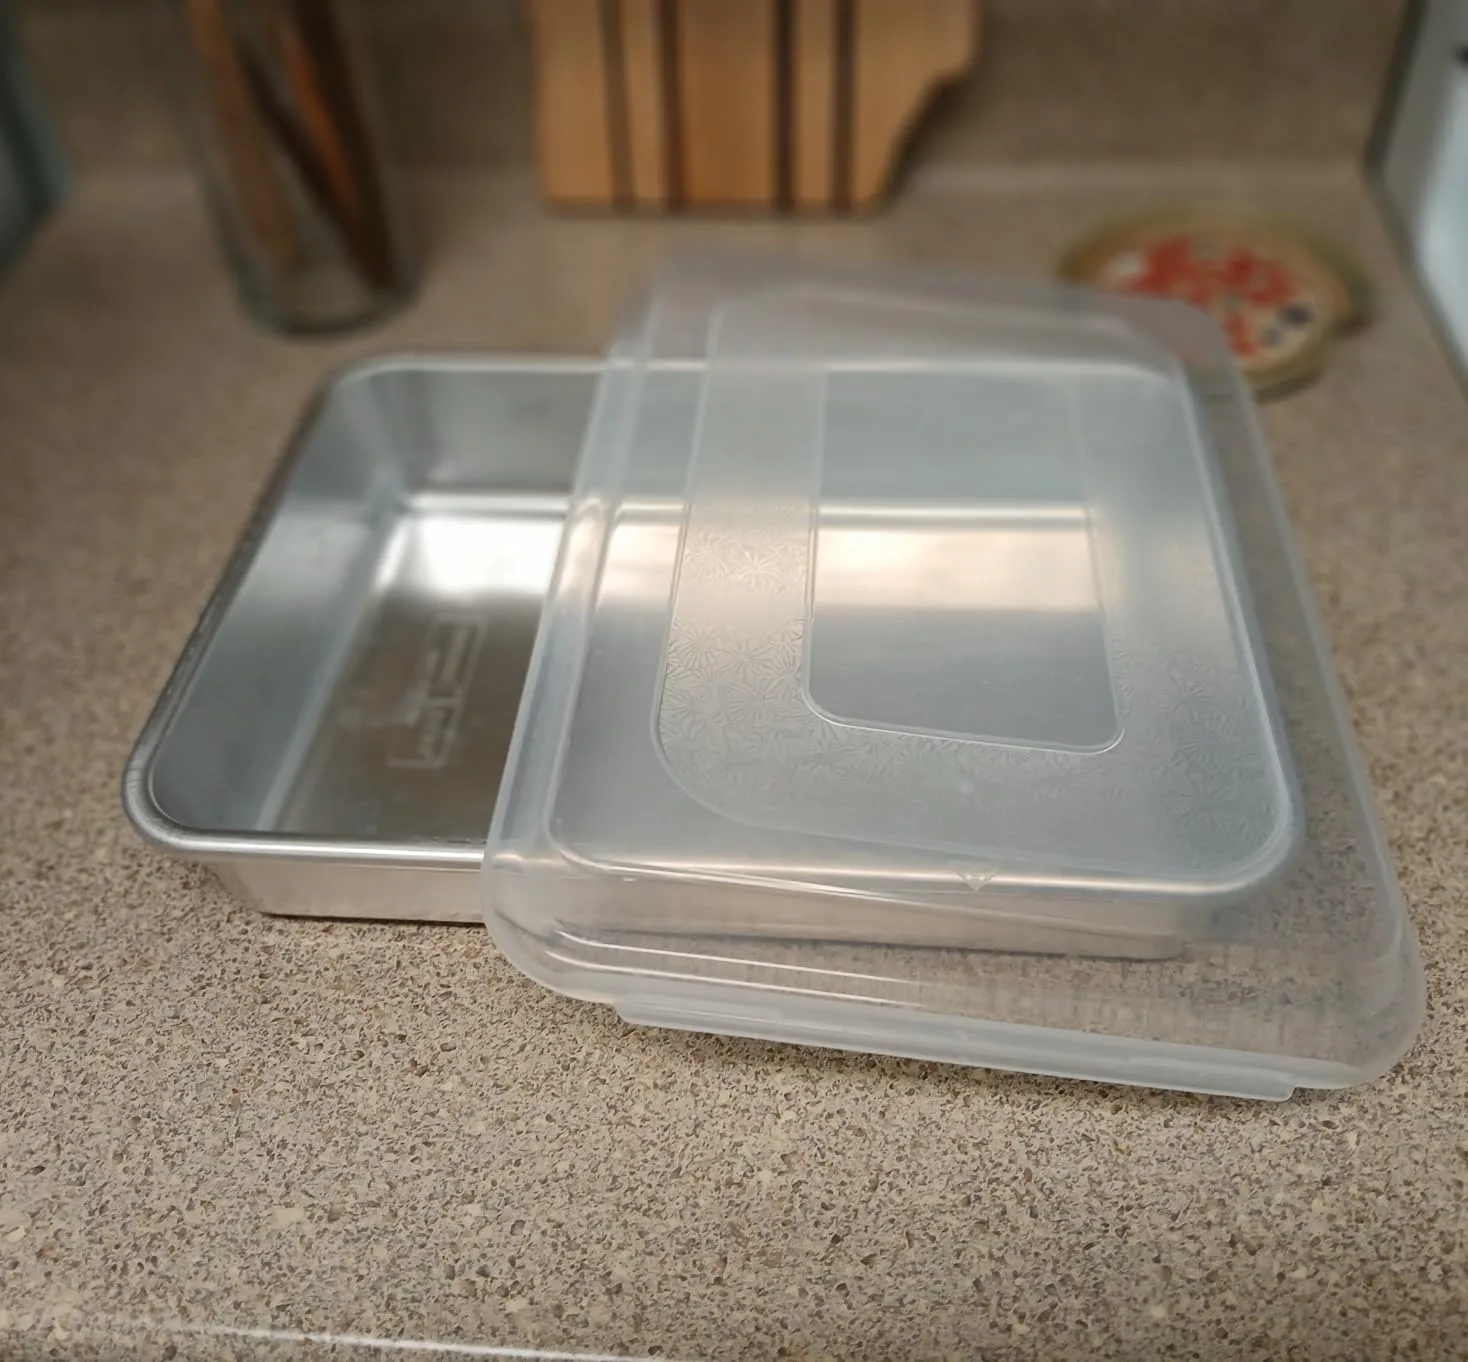
When you’re abandoning your snickerdoodle cookie plan halfway through, the last thing you want is to also abandon your baking sheet search. A proper 9×13 pan with even heat distribution means the difference between bars that bake unevenly (dark edges, pale center) and bars that are actually worth serving to your husband who witnessed your motivation collapse.
What works
- The aluminum conducts heat so evenly that my cinnamon-sugar layer on top actually caramelizes instead of staying pale and sad, which happened every single time I used my warped old sheet pan.
- It’s sturdy enough that I don’t have to white-knuckle it pulling it out of the oven—there’s actual confidence in the way it sits on the rack and comes out without that scary wobble.
- The lid means I can actually store these bars right in the same pan, which is exactly what my lazy Sunday brain needed—no transferring, no extra dishes.
What doesn’t
- It’s definitely heavier than my nonstick pans, which I only noticed when I was already tired and reaching for it with one hand while holding a hot oven mitt.
- The lid doesn’t seal completely, so if you’re banking on keeping these bars fresh for more than a couple days, you’ll still want to wrap them—though honestly, they won’t last that long.
I almost talked myself into using a disposable foil pan because I was too tired to care about quality, but something in me reached for this one instead, and those perfectly caramelized edges reminded me why I actually do care, even on my laziest days. Get the Nordic Ware Natural Aluminum Commercial Cake Pan with Lid.
This post contains affiliate links. As an Amazon Associate, I earn from qualifying purchases at no extra cost to you.