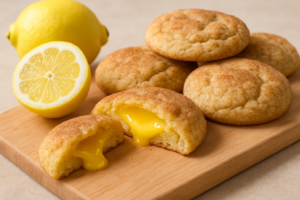
I want to tell you about the day I accidentally created what my husband now calls “the best thing you’ve ever made,” and how it started with a melted disaster, a pan of brownies I could not cut cleanly to save my life, and a bag of peanut butter cups I had absolutely no business stress-eating at eleven o’clock on a Tuesday night. That chaotic evening is exactly how peanut butter cup stuffed brownie cookies entered my life, and honestly, I would burn every batch of brownies I have ever made if it meant arriving at this recipe again.
How a Brownie Fail Turned Into Something Magical
Here is what happened. I was testing a fudgy brownie recipe for this blog, the kind with both melted chocolate and cocoa powder for that deep, almost dangerous richness. I pulled them out of the oven right on time, let them cool like a responsible adult, and then tried to slice them. They stuck. They crumbled. One piece came out looking like a geological event. I stood there holding a spatula and a brownie that had the structural integrity of wet sand, and I thought, okay. Okay. We are going to pivot.
The batter I had left over was sitting in the bowl, glossy and beautiful, completely unbothered by my failure. I had a bag of mini peanut butter cups on the counter because I had been snacking on them while I baked, as one does. And somewhere in the frantic, flour-dusted corner of my brain, a little idea lit up. What if I scooped the batter around a peanut butter cup, baked it as a cookie instead, and just… saw what happened?
Reader, what happened was extraordinary.
What Makes Peanut Butter Cup Stuffed Brownie Cookies So Special
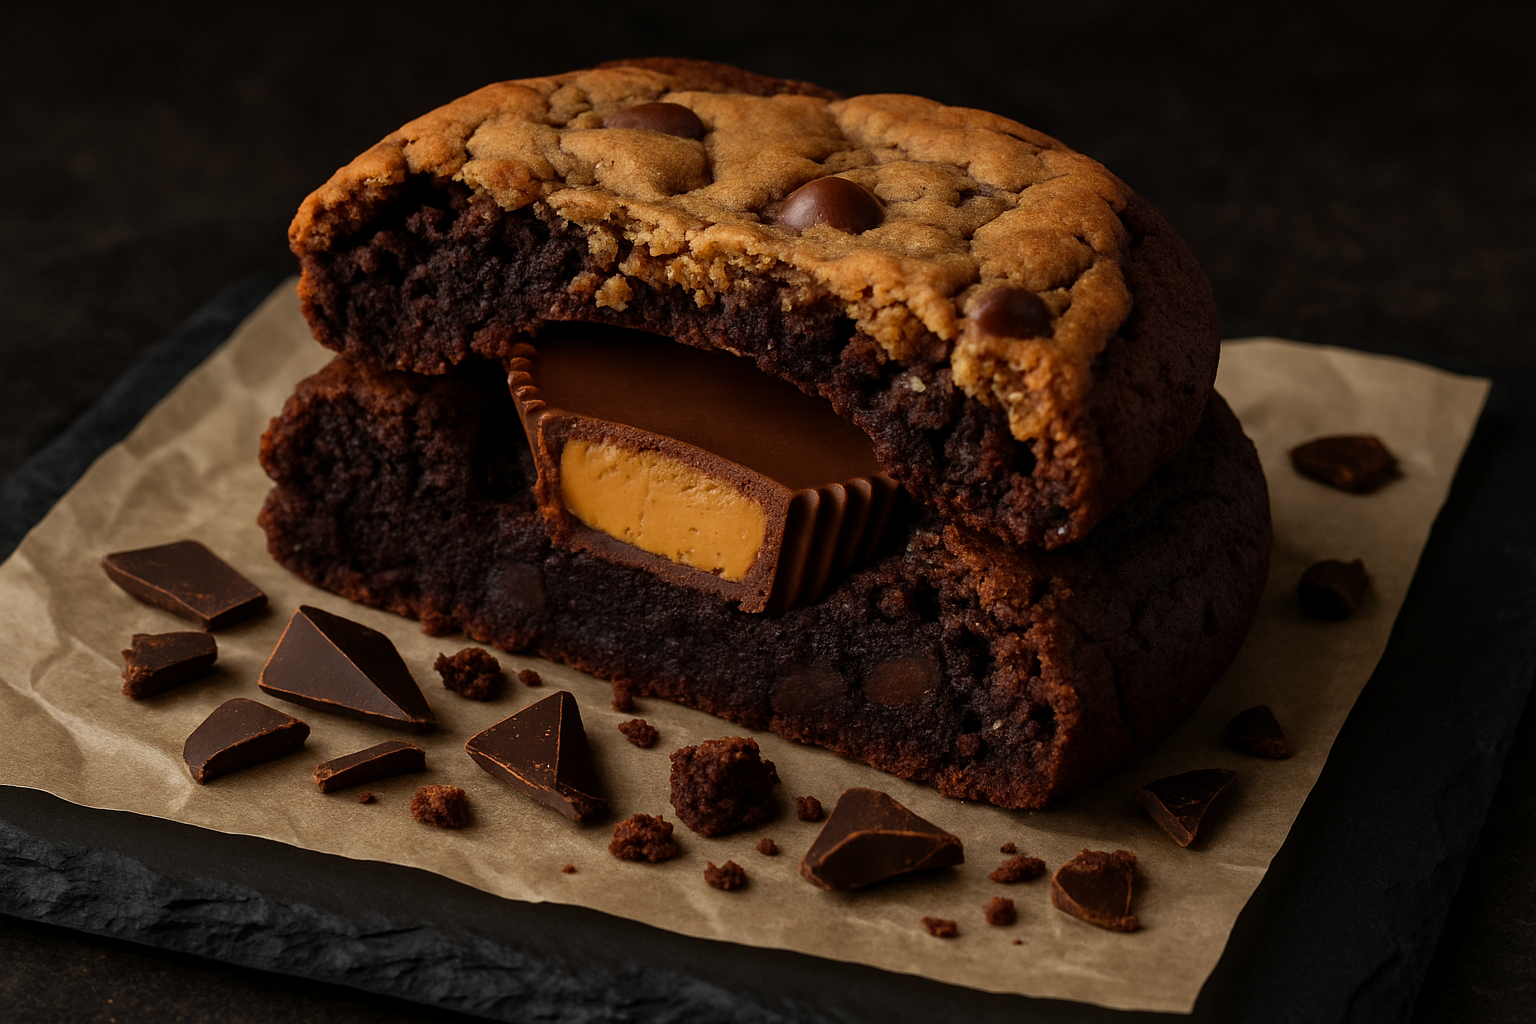
The magic is in the contrast. The outside of these cookies bakes up with that signature crinkled, slightly crisp brownie top — you know the one, that papery crackle that brownie lovers fight over. Underneath that shell, the interior stays fudgy, dense, and intensely chocolatey, almost like biting into the center of a bakery brownie. And then, right in the heart of all that chocolate, there is a peanut butter cup that has gone soft and melty from the oven heat. It is warm, salty, creamy, and sweet all at once. There is genuinely nothing else like it.
These cookies also have an impressive wow factor that is wildly disproportionate to how simple they are to make. You are essentially using a brownie batter as your cookie dough, which means no creaming butter, no chilling overnight, and very little guesswork. If you can make a batch of brownies from scratch, you can absolutely make these.
Tips for Getting the Texture Just Right
The key to that beautiful crinkle top is beating your eggs and sugar together really well before adding the chocolate. Whisk them vigorously for a full two to three minutes until the mixture is pale, slightly thickened, and ribbony. This is what creates that tissue-thin, shiny crust as the cookies bake. Do not skip this step. I skipped it once in the name of saving time and ended up with cookies that looked fine but had zero crinkle drama. They were still delicious. But drama matters.
Let your batter rest for about ten minutes after mixing. This gives the flour a chance to fully hydrate and the batter to thicken just slightly, which makes it much easier to scoop and wrap around a peanut butter cup without everything sliding around. Use a medium cookie scoop, flatten the portion in your palm, press the cup into the center, and then close the batter around it like a little chocolate present. Do not worry if it is not perfectly smooth. The oven takes care of that.
Bake at 350°F on a parchment-lined sheet for 10 to 12 minutes. The edges should look set and the tops should look just barely done — almost underbaked, honestly. They will continue to firm up on the hot pan. Pull them even a minute early if you want that truly fudgy center. Overbaking is the one thing that will cost you the gooey middle, and that middle is the whole point.
The Recipe: Peanut Butter Cup Stuffed Brownie Cookies
What You’ll Need
For the brownie cookie dough:
- ½ cup (115g) unsalted butter
- 12 oz (340g) dark or bittersweet chocolate, chopped
- 3 large eggs, room temperature
- 1 cup (200g) granulated sugar
- ¼ cup (50g) light brown sugar
- 1 tablespoon vanilla extract
- ¾ cup (95g) all-purpose flour
- ¼ cup (25g) unsweetened cocoa powder
- ½ teaspoon baking powder
- ½ teaspoon salt
- 24 to 30 mini peanut butter cups (depending on how generous you want to be)
For baking:
- Parchment paper for the baking sheet
How I Make Them, Step by Step
Prep time: 15 minutes | Bake time: 10 to 12 minutes | Yield: 24 to 30 cookies
- Melt the chocolate. In a microwave-safe bowl, combine the chopped chocolate and butter. Microwave in 25-second intervals, stirring between each interval, until completely melted and smooth. Set aside to cool for 2 to 3 minutes.
- Whisk the eggs and sugars. In the bowl of a stand mixer (or a large bowl if using a hand mixer), combine the eggs, granulated sugar, brown sugar, and vanilla. Beat on high speed for 2 to 3 minutes until the mixture is pale, noticeably thickened, and ribbony — this is crucial for getting that beautiful crackly top.
- Add the chocolate. Pour the cooled melted chocolate into the egg mixture and stir until fully combined. The batter should be glossy and smooth.
- Combine the dry ingredients. In a separate bowl, whisk together the flour, cocoa powder, baking powder, and salt. Gently fold the dry ingredients into the chocolate batter until just combined — do not overmix. The batter will be thick and dark.
- Let the batter rest. Cover the bowl with plastic wrap or a towel and let the batter rest for about 10 minutes. This allows the flour to fully hydrate and makes the batter easier to shape.
- Preheat your oven. While the batter rests, preheat your oven to 350°F (175°C). Line a baking sheet with parchment paper.
- Shape and fill the cookies. Using a medium cookie scoop (about 1½ inches in diameter), scoop out a portion of batter. Place it in the palm of your hand and gently flatten it to a small circle, about 2 inches across. Place one mini peanut butter cup in the center, then carefully fold and pinch the batter around it so the cup is enclosed. The batter doesn’t have to be perfectly smooth — the oven will handle that.
- Space them on the sheet. Place the filled batter rounds on the prepared baking sheet, spacing them about 2 inches apart. These cookies will spread, so give them plenty of room.
- Bake. Bake for 10 to 12 minutes, until the edges look set and the tops are just barely done — they should still look slightly underbaked in the very center. The cookies will continue to firm up on the hot pan after you pull them out.
- Cool on the pan. Let the cookies cool on the baking sheet for 5 minutes, then transfer to a wire rack if you want them to cool completely. (Though honestly, eating one while it’s still warm and the peanut butter cup is at peak gooiness is the real move here.)
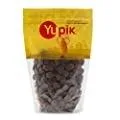
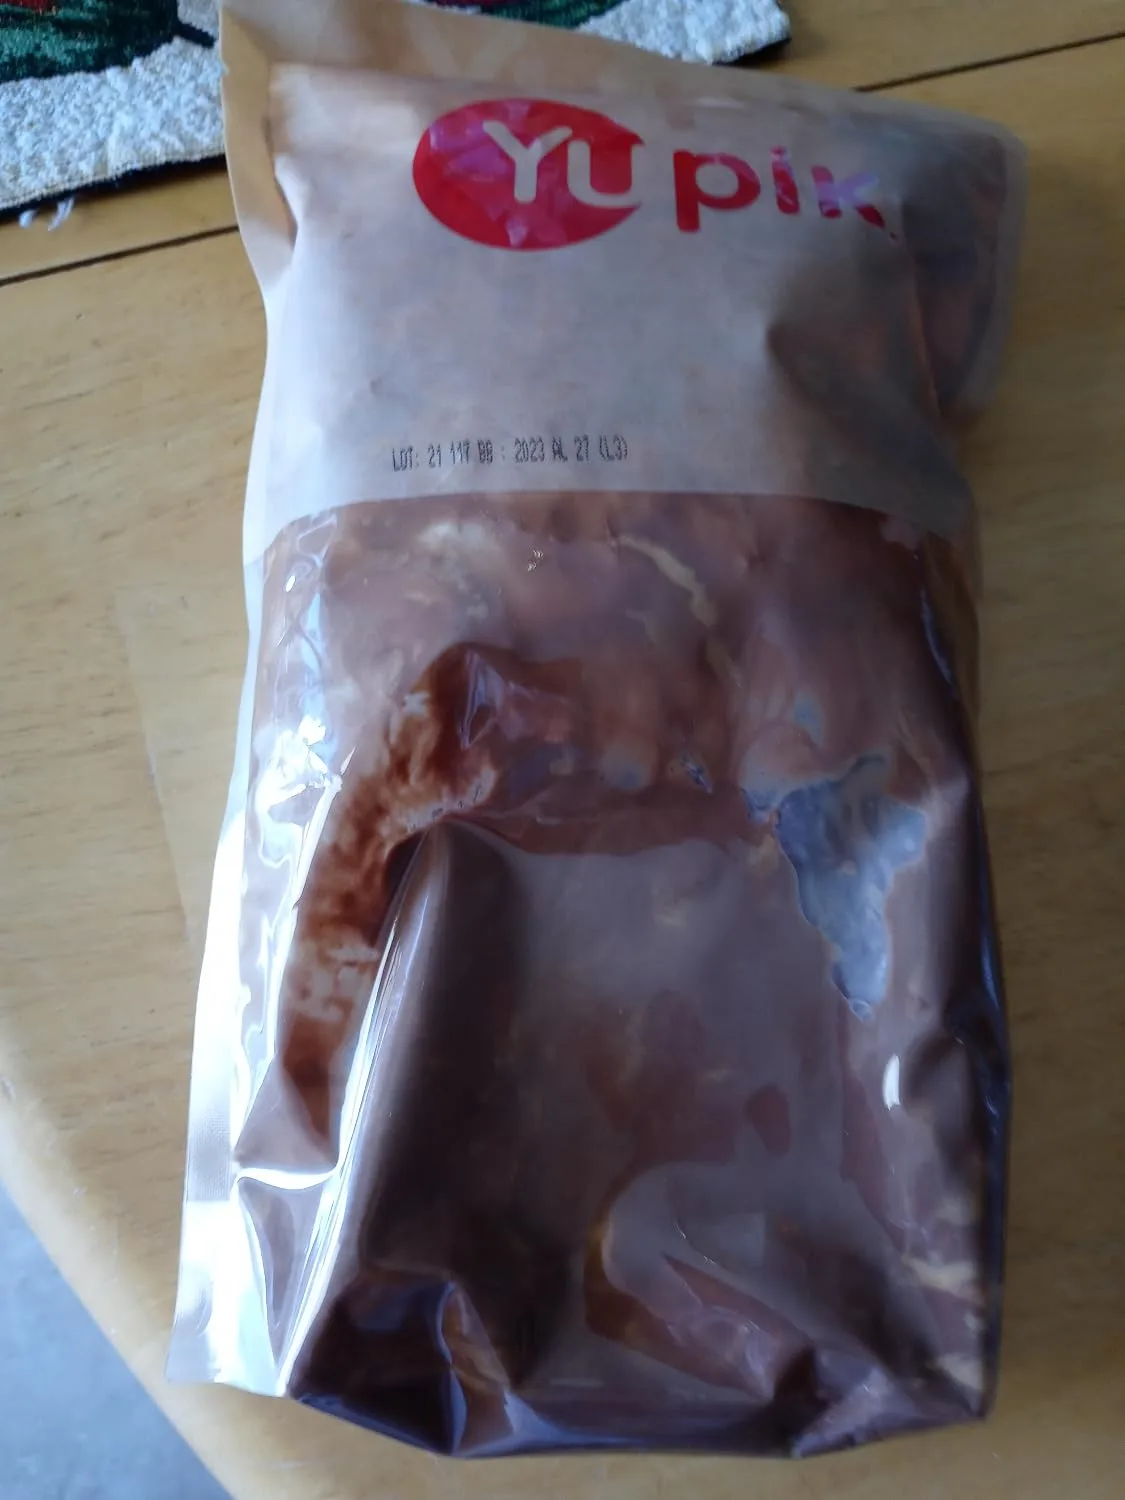
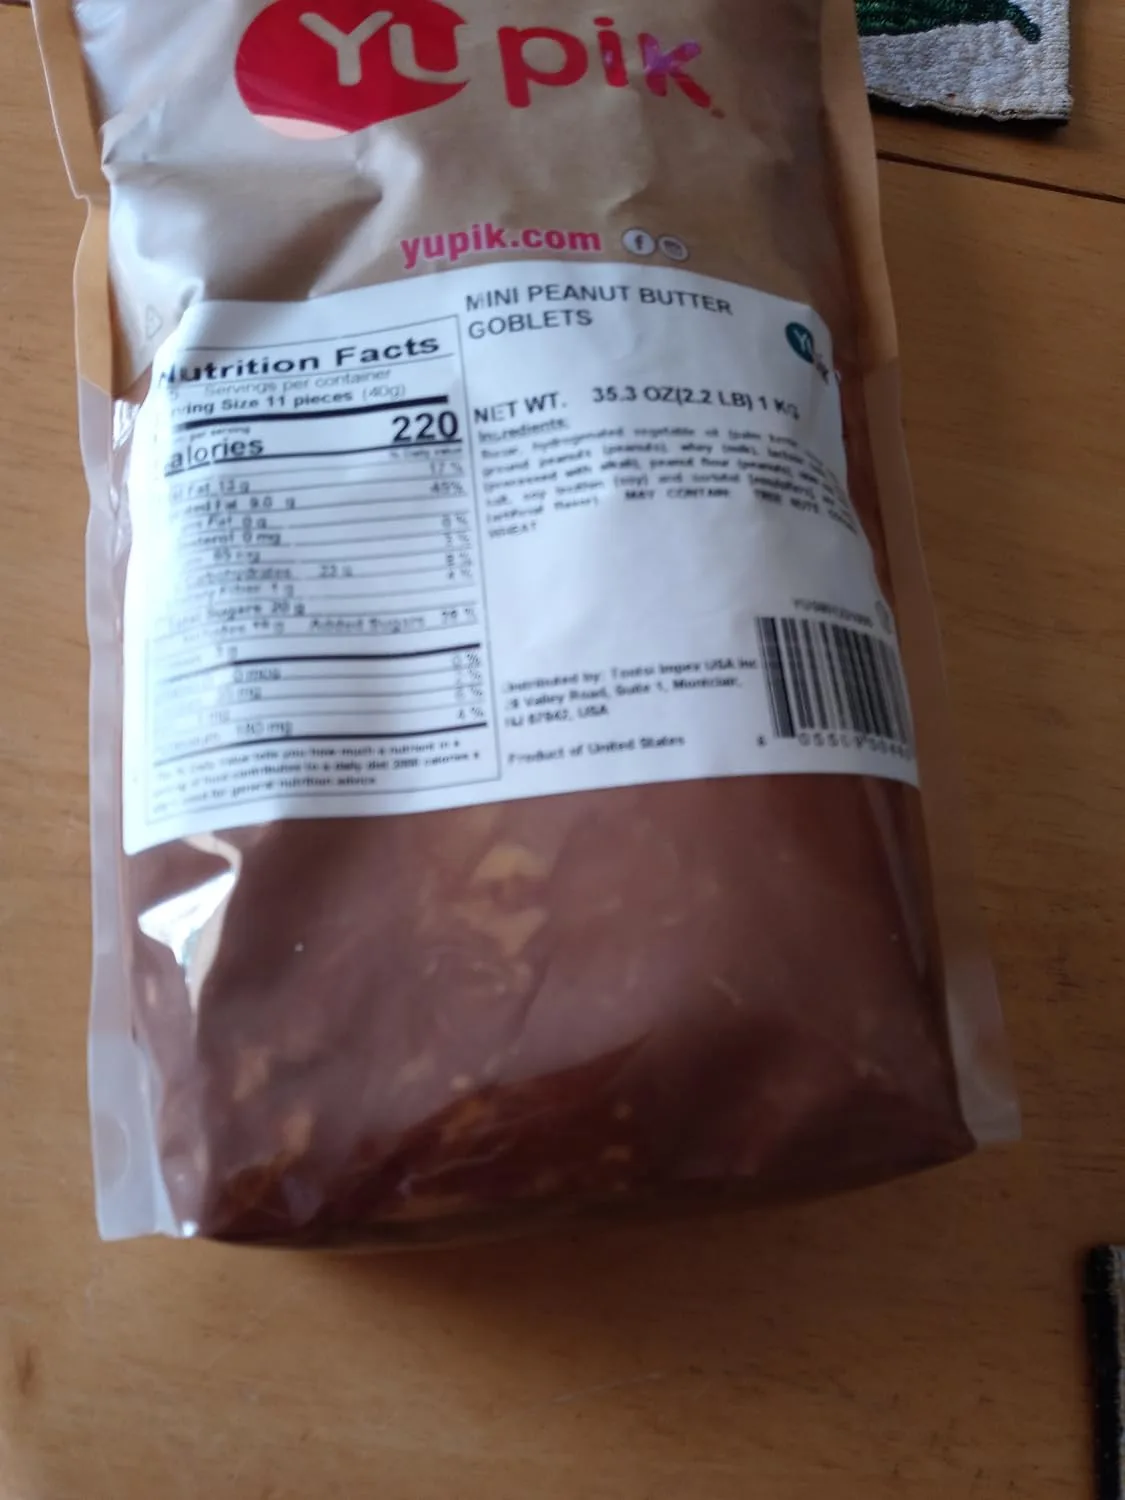
The Mini Peanut Butter Cups That Finally Stopped Melting Into My Brownie Batter
When you’re stuffing peanut butter cups into warm brownie dough, size matters—a lot. Full-size cups disappear into the crumb or melt into an unrecognizable puddle, but minis stay intact enough to create that perfect pocket of chocolate and peanut butter in every bite.
What works
- The smaller size means they hold their shape even when pressed into warm dough, so you actually get a defined chocolate-peanut butter layer instead of a smeared mess.
- Two pounds gives you plenty to work with—I always have extras for quality control (read: eating straight from the bag while I cool the cookies).
- They’re individually wrapped, which sounds minor until you’re trying to work with sticky dough and don’t want chocolate all over your hands before you’ve even started baking.
What doesn’t
- The wrappers can be fiddly to remove quickly when you’re on a roll, especially if your kitchen is warm—I’ve definitely lost a few minutes unwrapping these when I should’ve been baking.
- At this bulk quantity, they really do tempt you to eat them straight from the bag, which means your actual cookie recipe might not have quite as many as you planned.
I’ll admit, on my second batch I almost switched back to full-size cups because I was impatient with the unwrapping, but the moment I pulled those first cookies out of the oven and saw how perfectly intact those little cups stayed, I knew I’d made the right call. Yupik Mini Peanut Butter Cups, 2.2 lb
This post contains affiliate links. As an Amazon Associate, I earn from qualifying purchases at no extra cost to you.